Property owners across Essex and London face growing security concerns, with break-ins remaining a persistent threat to homes and businesses. Installing an effective intruder alarm system represents one of the most reliable ways to deter criminals and protect your premises. This comprehensive guide walks you through every stage of alarm setup, from initial preparation and component selection to installation, testing, and ongoing maintenance, ensuring your system delivers maximum protection and peace of mind.
Key takeaways
| Point | Details |
|---|---|
| Deterrent power | Burglar alarms significantly raise the perceived risk of capture for intruders |
| Preparation matters | Proper planning and component selection prevent vulnerabilities and installation errors |
| False alarm control | Minimising false triggers maintains system credibility and user confidence |
| Regular maintenance | Annual servicing and routine testing ensure sustained security effectiveness |
Understanding why proper intruder alarm setup matters
Correct installation transforms your alarm from a simple noisemaker into a powerful security asset. Burglar alarms increase perceived apprehension risk for potential intruders, making your property a less attractive target. When criminals assess a building, visible alarm components signal heightened detection probability, often causing them to abandon their plans entirely. This psychological deterrent works only when your system functions reliably and appears professionally installed.
Poor setup undermines these benefits dramatically. Sensors positioned incorrectly may miss entry attempts, whilst exposed wiring or loose components broadcast amateur installation. Intruders recognise these telltale signs and exploit them. Understanding how burglar alarms detect intruders helps you appreciate why precision matters at every installation stage.
False alarms erode system effectiveness by creating complacency amongst users and neighbours. When alarms trigger repeatedly without cause, occupants begin ignoring alerts or disabling protection altogether. Police and monitoring centres also deprioritise properties with frequent false activations. Proper setup eliminates most false triggers through careful sensor calibration and strategic component placement.
Quality installation ensures your alarm system delivers consistent, reliable protection that maintains its deterrent effect year after year.
System functionality depends on balanced sensitivity settings, secure component mounting, and thorough testing protocols. Each element must work harmoniously to detect genuine threats whilst filtering environmental noise. Taking time to understand your specific system’s capabilities allows you to optimise configurations for your property’s unique layout and usage patterns.

Preparing for your intruder alarm installation: tools and requirements
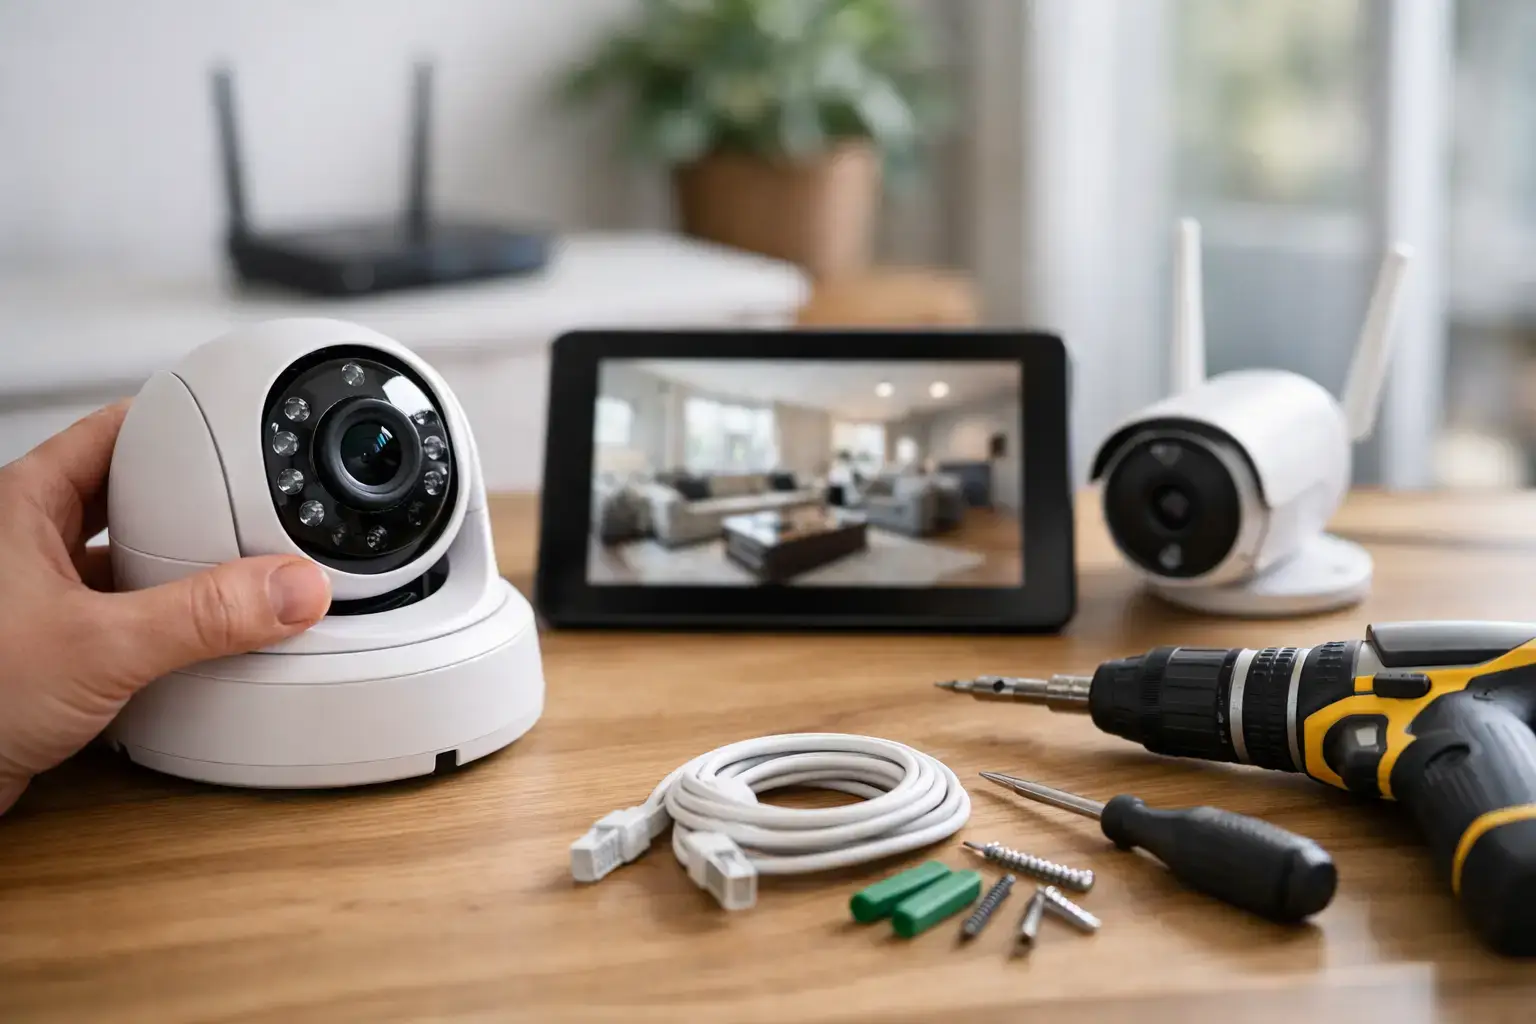
Successful installation begins with gathering appropriate tools and understanding system components. You need basic equipment including a power drill with masonry bits, screwdrivers (both flathead and Phillips), wire strippers, a voltage tester for electrical safety, and a spirit level for accurate sensor mounting. Additional materials include cable clips, wall anchors, electrical tape, and a stepladder for reaching elevated installation points.
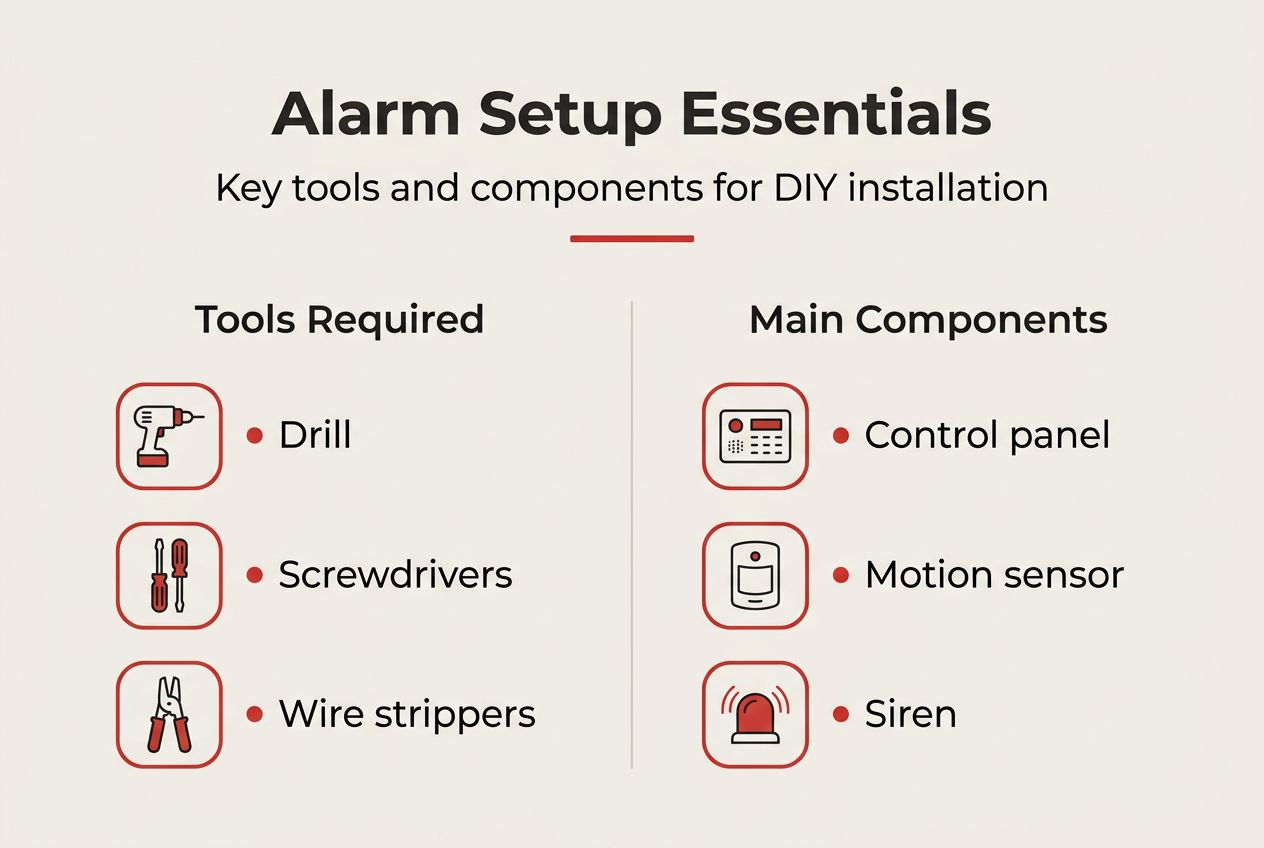
Your alarm system comprises several critical components working together. The control panel serves as the system brain, processing sensor inputs and triggering responses. Sensors detect intrusion attempts through various technologies like passive infrared motion detection or magnetic contact switches. Sirens provide audible alerts to deter intruders and notify occupants. The keypad allows users to arm, disarm, and programme the system. Some systems include additional features like smartphone connectivity or professional monitoring integration.
Choosing between wired and wireless configurations impacts installation complexity and system reliability. This comparison helps clarify your options:
| Feature | Wired systems | Wireless systems |
|---|---|---|
| Installation complexity | Requires cable routing through walls | Simple mounting without extensive wiring |
| Reliability | Highly stable, no battery concerns | Dependent on battery life and signal strength |
| Aesthetics | Concealed wiring for clean appearance | Visible components but no cable clutter |
| Expandability | Difficult to add sensors later | Easy to add or relocate components |
| Cost | Higher installation labour costs | Lower installation costs, ongoing battery expenses |
Understanding wireless versus wired alarms helps you select the configuration matching your property type and budget. Wireless systems suit properties where running cables proves impractical, whilst wired installations offer superior reliability for new builds or major renovations.
Preparing to minimise false alarms requires advance planning. Consider pet movement patterns if you have animals, as standard motion sensors may trigger unnecessarily. Identify environmental factors like heating vents, direct sunlight, or moving curtains that could cause false activations. False alarm prevention starts with thoughtful sensor placement during the preparation phase, not after installation problems emerge.
Step-by-step intruder alarm system installation guide
Begin by identifying optimal sensor locations throughout your property. Install door and window contacts at all ground floor entry points and accessible upper floor openings. Position motion sensors to cover main circulation routes and valuable asset locations. Corner mounting provides the widest detection coverage for motion sensors, typically at heights between 2 and 2.4 metres. Avoid placing sensors near heat sources, air conditioning vents, or windows with direct sunlight exposure.
Follow these installation steps systematically:
- Mount the control panel in a concealed location near your main entry point, ensuring easy cable access and protection from tampering
- Install the external siren box in a visible, elevated position on your building’s exterior to maximise deterrent effect
- Fit door and window contacts with the sensor on the fixed frame and magnet on the moving element, maintaining gaps under 10 millimetres when closed
- Position motion sensors at designated heights, angling them slightly downward to optimise detection zones whilst avoiding pet level coverage
- Run cables through wall cavities or surface mounted trunking, securing connections at the control panel according to manufacturer terminal diagrams
- Connect the backup battery to ensure continued operation during power failures
- Install the keypad near your primary entrance at a comfortable height for daily use
Programming requires careful attention to manufacturer instructions specific to your model. Enter installer codes to access configuration menus, then assign each sensor to appropriate zones. Configure entry and exit delay timings to allow comfortable arming and disarming without triggering false alarms. Set alert preferences for different alarm conditions and programme user codes for household members or staff.
Pro Tip: Test each sensor individually during programming by triggering it deliberately whilst monitoring control panel responses, confirming proper zone assignment before finalising configuration.
Conduct comprehensive system testing before relying on your installation. Arm the system and trigger each sensor sequentially, verifying that sirens activate and notifications transmit correctly. Test both perimeter sensors and interior motion detectors. Walk through detection zones at various speeds and angles to confirm coverage adequacy. This methodical approach identifies installation gaps requiring adjustment.
Common installation errors include positioning sensors too close to corners where detection angles create blind spots, failing to secure cable connections properly causing intermittent faults, and setting sensitivity levels too high resulting in false alarm triggers. Following the detailed alarm setup guide for secure properties helps avoid these pitfalls through proven installation techniques.
Verifying and maintaining your intruder alarm system for lasting protection
Regular testing confirms your system remains fully operational between professional service visits. Monthly testing should include:
- Arming and disarming the system using all programmed user codes
- Triggering each sensor zone individually to verify detection and alert functions
- Testing backup battery operation by temporarily disconnecting mains power
- Checking siren volume and duration meet your security requirements
- Inspecting sensor mounting security and wireless component battery levels
Identifying false alarm sources requires systematic investigation. Monitor which zones trigger unexpectedly and under what conditions. Environmental changes like new furniture placement, altered heating patterns, or seasonal sunlight angles may affect sensor behaviour. Adjust motion sensor sensitivity settings incrementally rather than making dramatic changes. For persistent issues, consider relocating problematic sensors or upgrading to pet-immune detection technology.
Pro Tip: Keep a simple log of false alarms noting date, time, zone, and weather conditions to identify patterns that guide effective troubleshooting.
Professional servicing maintains optimal performance and extends system lifespan. Annual maintenance visits should include thorough component inspection, battery replacement, firmware updates, and recalibration of detection sensitivity. Technicians identify wear before failures occur and ensure your system meets current security standards. This preventative approach proves far more cost effective than emergency repairs following system failures.
Consistent maintenance preserves the deterrent effect research demonstrates by ensuring visible components remain pristine and functional. Faded external siren boxes or obviously damaged sensors signal neglect to observant criminals. Scheduling regular burglar alarm maintenance and servicing demonstrates commitment to security that potential intruders recognise and respect.
Documenting all maintenance activities creates valuable service history. Record battery replacement dates, sensitivity adjustments, and any component upgrades or replacements. This information proves invaluable for troubleshooting future issues and demonstrates due diligence for insurance purposes. Many insurers offer premium reductions for professionally maintained alarm systems with documented service records.
Enhance your property security with expert intruder alarm installation
Whilst this guide equips you with comprehensive setup knowledge, professional installation guarantees optimal results and ongoing support. Expert installers bring years of experience identifying property-specific vulnerabilities and configuring systems for maximum effectiveness. They ensure compliance with British Standards and insurance requirements whilst providing warranties covering both equipment and workmanship.

Explore flexible professional burglar alarm installation packages tailored for Essex and London properties. Professional services include site surveys, customised system design, expert installation, and comprehensive user training. Consider combining intruder alarms with CCTV installation services for layered security that provides both deterrence and evidence gathering capabilities. Budget-conscious property owners benefit from CCTV leasing options that spread costs whilst maintaining cutting edge protection.
FAQ
Can I install an intruder alarm system myself, or should I hire a professional?
Self-installation is possible with technical aptitude and careful attention to manufacturer guidance, particularly for wireless systems requiring minimal structural work. However, DIY installations risk configuration errors, suboptimal sensor placement, and potential insurance complications. Professional installers provide expert site assessment, ensure compliance with British Standards, and offer warranties covering equipment and workmanship. For comprehensive guidance on either approach, review this intruder alarm setup guide covering both DIY and professional installation considerations.
What are the most common causes of false alarms, and how can I prevent them?
Pet movement triggers standard motion sensors, whilst environmental factors like heating vents, moving curtains, or direct sunlight cause false activations. Sensor faults from loose mounting, incorrect sensitivity settings, or low batteries also generate spurious alerts. False alarm reduction requires strategic sensor placement away from environmental triggers and using pet-immune detection technology where appropriate. Modern smart alarm features include advanced filtering algorithms that distinguish genuine threats from benign movements, dramatically reducing false triggers whilst maintaining security effectiveness.
How often should I service my intruder alarm system to maintain effectiveness?
Annual professional servicing ensures all components function correctly and maintains your system’s deterrent capability. Service visits should include battery replacement, sensor calibration, firmware updates, and thorough functionality testing. More frequent checks benefit high-security commercial properties or systems protecting valuable assets. Regular maintenance prevents component failures, identifies wear before problems emerge, and ensures continued insurance compliance. Consult your intruder alarm servicing schedule recommendations based on your specific system model and usage intensity for optimal protection.
Do intruder alarms work during power cuts?
Quality alarm systems include backup batteries providing continued operation during mains power failures, typically for 12 to 24 hours depending on battery capacity and system power consumption. The control panel automatically switches to battery power when mains supply interrupts, maintaining full protection without user intervention. Regular testing of backup battery function during monthly system checks confirms this critical failsafe works correctly. Professional servicing includes battery health assessment and replacement before capacity degrades below reliable thresholds.
Recommended
- Burglar Alarm Setup Guide for Secure Properties UK – 247 CCTV Security Ltd
- Texecom Premier Elite 24 Alarm System in Essex | 247 CCTV
- Burglar Alarm Installers Essex, 5 Star service approve SSAIB
- Hikvision AX Pro, Wireless Alarm Systems | 247 CCTV Security
- Best Electronics for Modern Homes in Europe (2026 Guide) – OnlineStore24 EU