Nearly half of British households now rely on smart security solutions to protect their properties. With break-ins a growing concern in busy cities and quiet towns alike, finding the right mix of surveillance and alarm systems matters more than ever. This guide walks you through every critical step, from assessing site weaknesses and selecting day night CCTV cameras to positioning equipment for complete coverage and testing performance under real British conditions.
Quick Summary
| Key Point | Explanation |
|---|---|
| 1. Thoroughly assess site vulnerabilities | Conduct a comprehensive survey to identify potential entry points, weak spots, and visibility issues that could compromise security. |
| 2. Choose effective CCTV equipment | Select cameras with features like infrared capabilities and wide dynamic range to ensure clear footage in different lighting conditions. |
| 3. Strategically position cameras | Position cameras to cover all critical areas and eliminate blind spots, ensuring overlapping fields of view for comprehensive monitoring. |
| 4. Properly configure the system | Connect and configure your cameras and recording devices meticulously to create a seamless security network that captures clear data. |
| 5. Test performance rigorously | Conduct systematic testing of camera functionality in both daylight and low light to ensure optimal imaging and detection capabilities. |
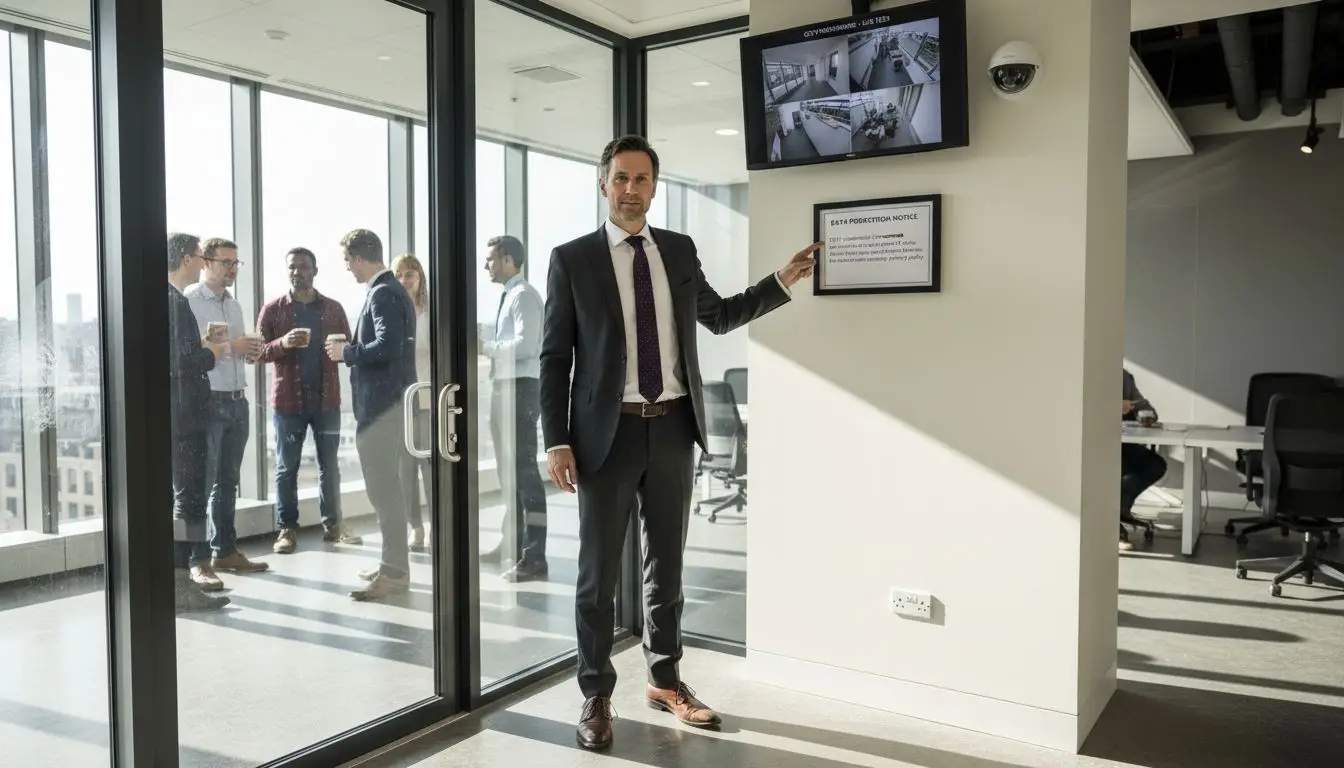
Passage 1: Assess Surveillance Requirements and Site Conditions
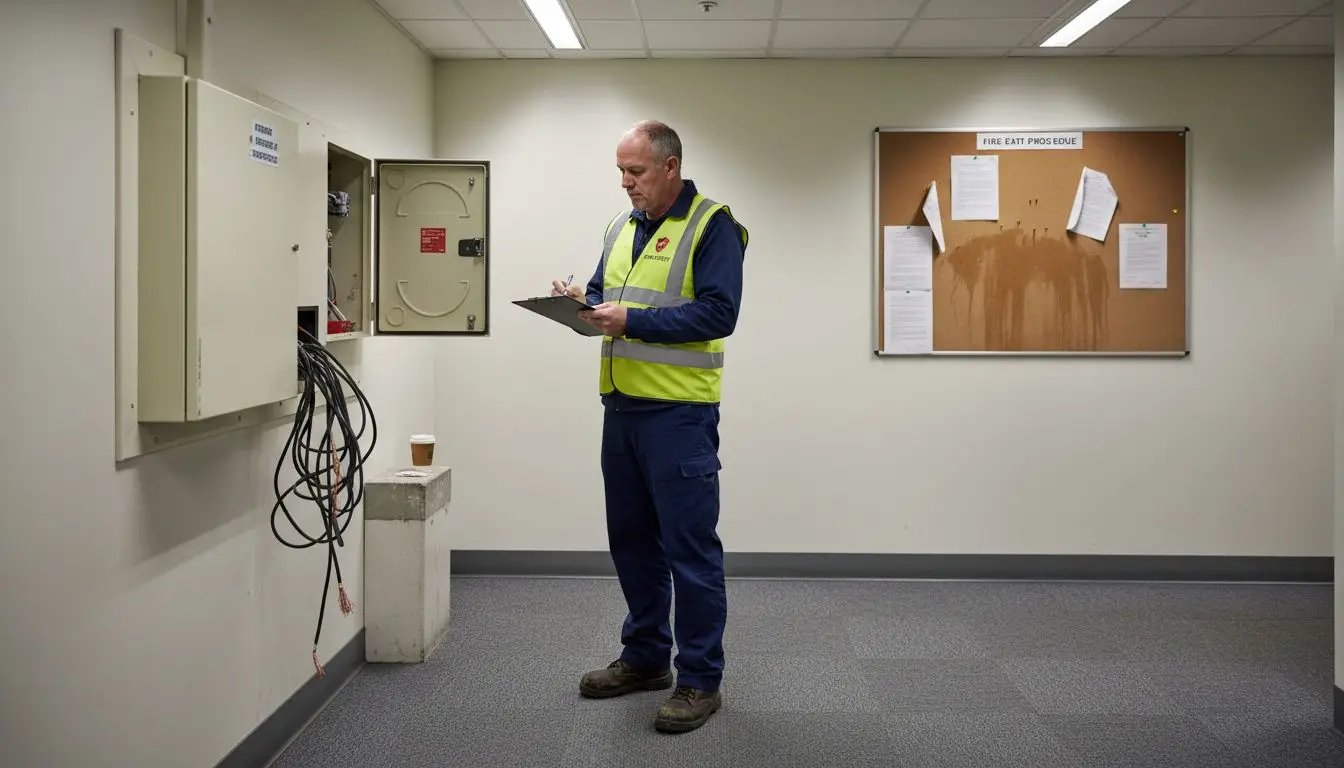
Preparing an effective burglar alarm installation begins with a comprehensive assessment of your property’s unique security landscape. This crucial first step determines the strategic placement and configuration of your Hikvision AX Pro, RISCO LightSYS+, or Texecom Premier Elite system to provide maximum protection.
Starting your assessment requires a methodical approach that considers multiple factors. You will want to evaluate site vulnerabilities comprehensively by walking the entire property perimeter and identifying potential entry points. Key considerations include assessing door and window locations, surrounding terrain, lighting conditions, and proximity to neighbouring structures. For businesses like warehouses, shops, or care homes, understanding your specific operational environment is critical.
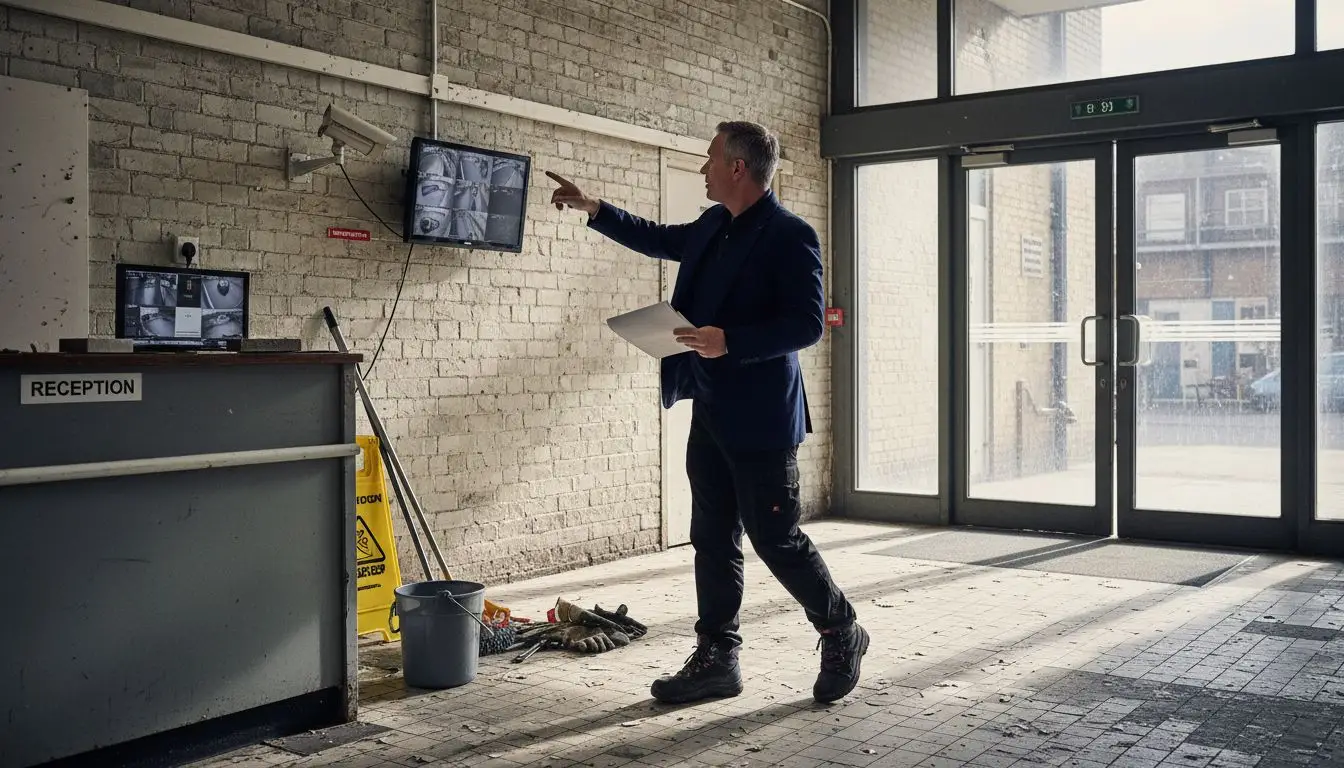
Practical site surveys demand careful observation. Note areas with limited visibility such as rear entrances, loading zones, or secluded corners that might present security risks. Pay attention to existing infrastructure potential intruders might exploit landscaping features, blind spots, or structural weaknesses that could compromise your security system’s effectiveness. Each property presents unique challenges requiring a tailored approach to alarm system design and sensor placement.
A strategic tip when conducting your site assessment involves creating a hand-drawn map or digital blueprint marking potential sensor locations, power sources, and communication pathways. This visual representation will prove invaluable when consulting with professional security installers, ensuring they understand your specific security requirements and can recommend the most appropriate alarm configuration for your specific needs.
Stage 2: Select Appropriate Day Night CCTV Cameras and Equipment
Selecting the right surveillance equipment is a critical step in creating a comprehensive security system for your property. The goal is to choose cameras and devices that provide reliable performance across different lighting conditions while meeting your specific security requirements.
When investigating camera options, consider the unique characteristics of day and night monitoring. Modern security camera technologies offer advanced features like infrared capabilities, low light performance, and adaptive imaging sensors that can capture clear footage in challenging environments. For UK properties ranging from residential homes to commercial warehouses, you will want to prioritise cameras with wide dynamic range, which allows clear imaging in areas with significant light variations such as building entrances or car parks.
Your camera selection should include key technical specifications that match your site conditions. Look for cameras with adjustable infrared cut filters, which automatically switch between colour daytime and black and white nighttime recording modes. Professional grade cameras from brands like Hikvision AX Pro offer intelligent features such as digital noise reduction, backlight compensation, and automatic exposure control that significantly enhance image quality across different lighting scenarios. When purchasing equipment, carefully assess the technical specifications including resolution, field of view, weather resistance ratings, and compatible recording systems to ensure comprehensive property protection.
A strategic tip for equipment selection involves creating a comprehensive inventory of your property’s specific monitoring requirements before making purchases. This approach helps prevent unnecessary expenditure and ensures you select precisely the right cameras for each designated surveillance area.
Stage 3: Position and Install Cameras for Maximum Coverage
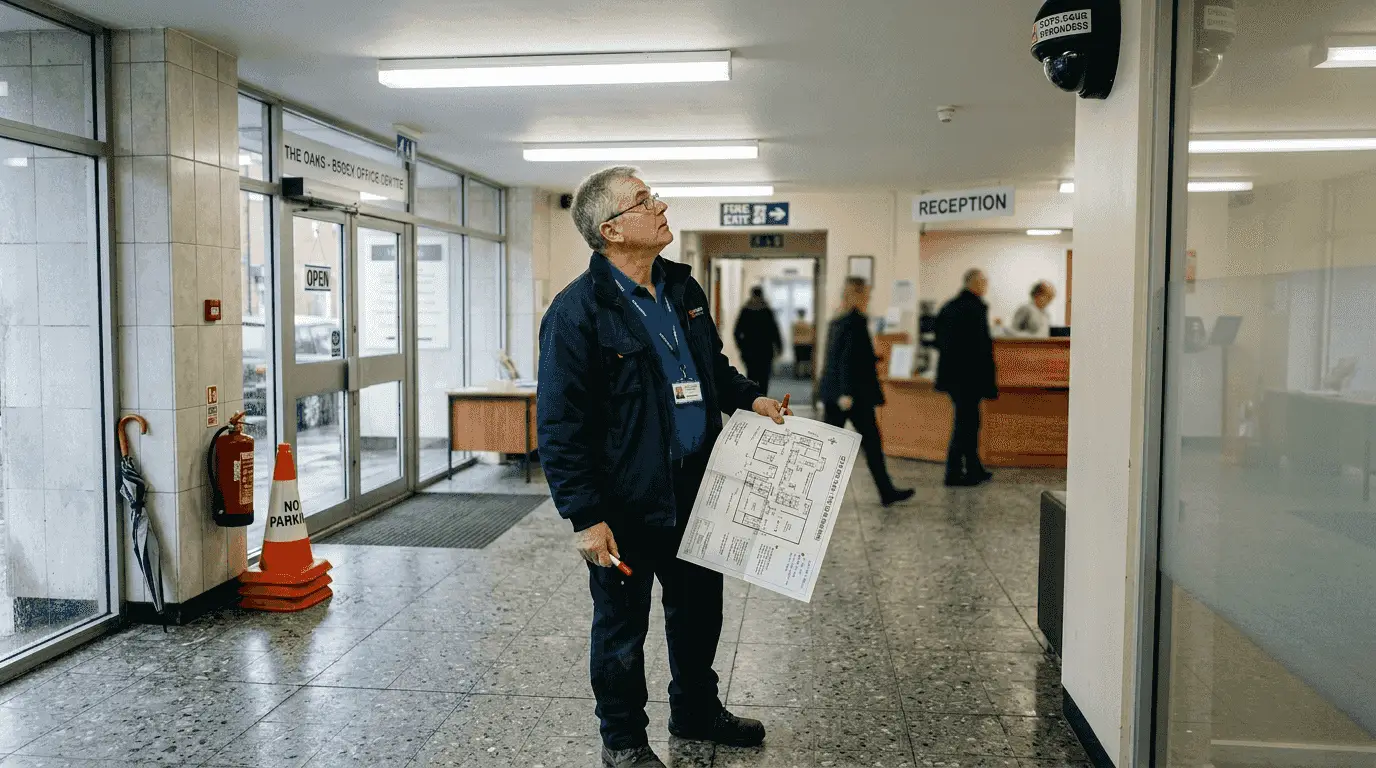
Positioning security cameras strategically is essential for creating a comprehensive surveillance system that provides complete property protection. Your goal is to establish multiple viewing angles that eliminate potential blind spots and capture critical areas of your property.
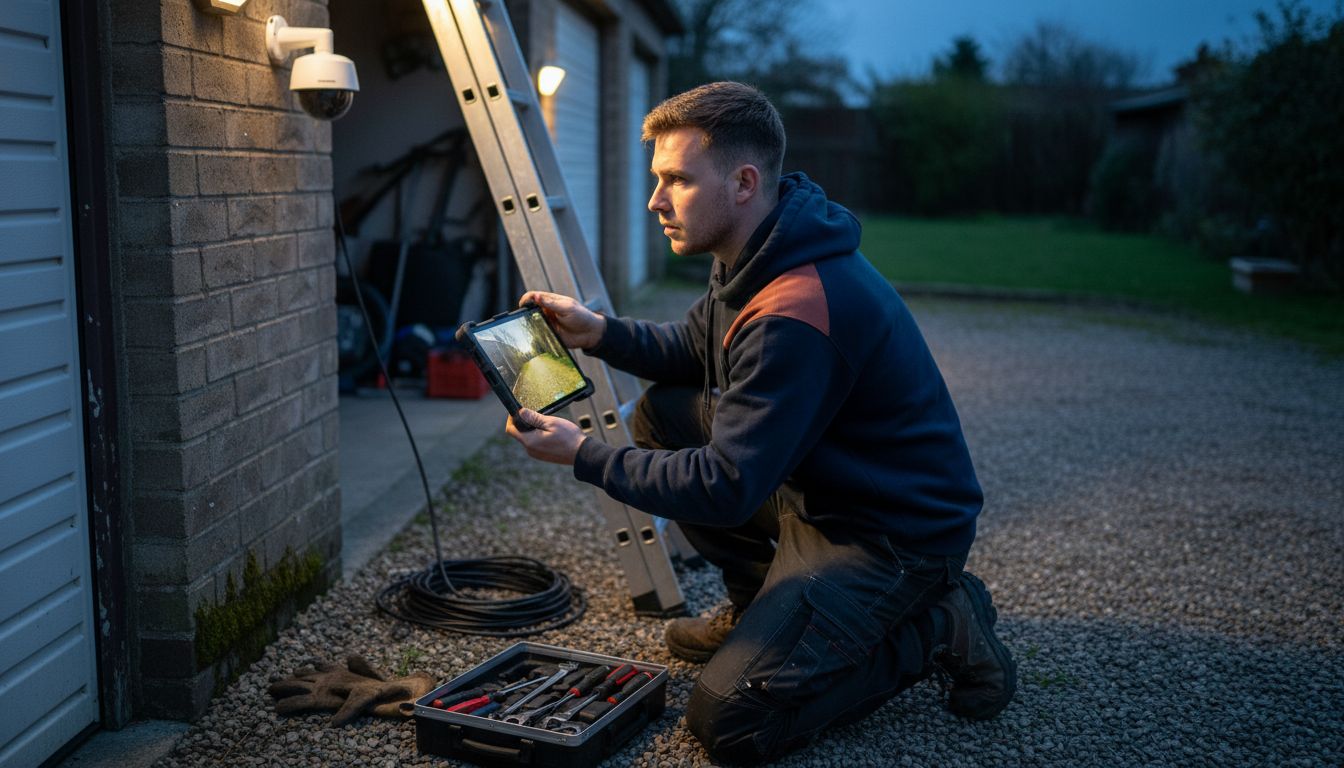
Camera installation techniques require careful consideration of multiple factors including entry points, high traffic zones, and potential vulnerability areas. For businesses and residential properties across Essex and London, recommended camera positions typically include main entrances, rear access points, perimeter boundaries, parking areas, and key interior zones like reception areas or storage rooms. When mounting cameras, aim to position them at heights between 2.5 to 3 metres to prevent tampering while maintaining clear visual coverage.
Professional camera positioning involves more than simple placement. You will need to consider factors such as angle of view, potential light interference, and environmental conditions. Cameras should be mounted to provide overlapping fields of view, ensuring no area remains unmonitored. Professional systems like Hikvision AX Pro offer adjustable mounting brackets that allow precise angling to maximise coverage. Weatherproof cameras with robust mounting solutions are crucial for external areas, protecting against environmental challenges typical in British weather conditions.
A critical tip for successful camera installation involves conducting a comprehensive walkthrough of your property before mounting any equipment. This preliminary assessment helps identify optimal camera locations, potential obstructions, and ensures your surveillance system provides seamless, comprehensive property monitoring.
Stage 4: Connect and Configure the CCTV System Hardware
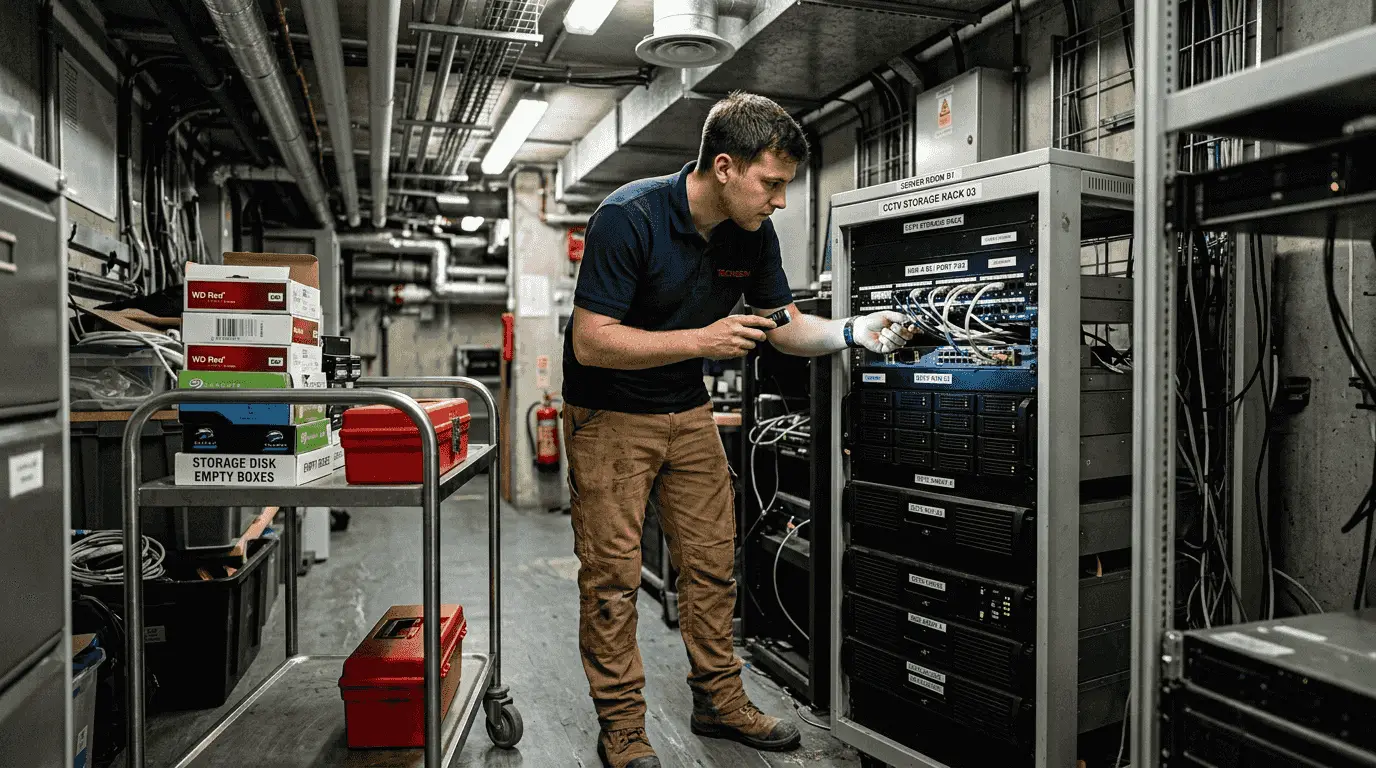
Connecting and configuring your security system hardware represents a critical phase in establishing a robust surveillance infrastructure. Your objective is to create a seamless network of cameras and recording devices that communicate effectively and capture comprehensive security data.
Professional hardware configuration techniques require methodical attention to electrical connections, network integration, and system compatibility. When setting up your Hikvision AX Pro, RISCO LightSYS+, or Texecom Premier Elite system, begin by ensuring all cameras are positioned according to your earlier site survey and have appropriate power supply connections. Network cameras will require ethernet cable connections, while analogue systems might use coaxial cables with dedicated power adapters.
The configuration process involves several technical steps including establishing proper network settings, configuring recording resolution, setting motion detection zones, and synchronising camera timestamps. Professional systems offer advanced features like remote access configuration, allowing you to monitor your property through smartphone applications or web interfaces. Pay close attention to network security settings such as creating complex passwords, enabling two factor authentication, and ensuring your network router provides adequate firewall protection for your surveillance system.
A strategic tip for successful hardware configuration involves creating a detailed connection diagram before beginning installation. This visual mapping helps prevent connectivity errors and provides a clear reference point during the setup process, ultimately ensuring a more efficient and accurate system deployment.
Stage 5: Test Night and Day Performance for Optimal Results
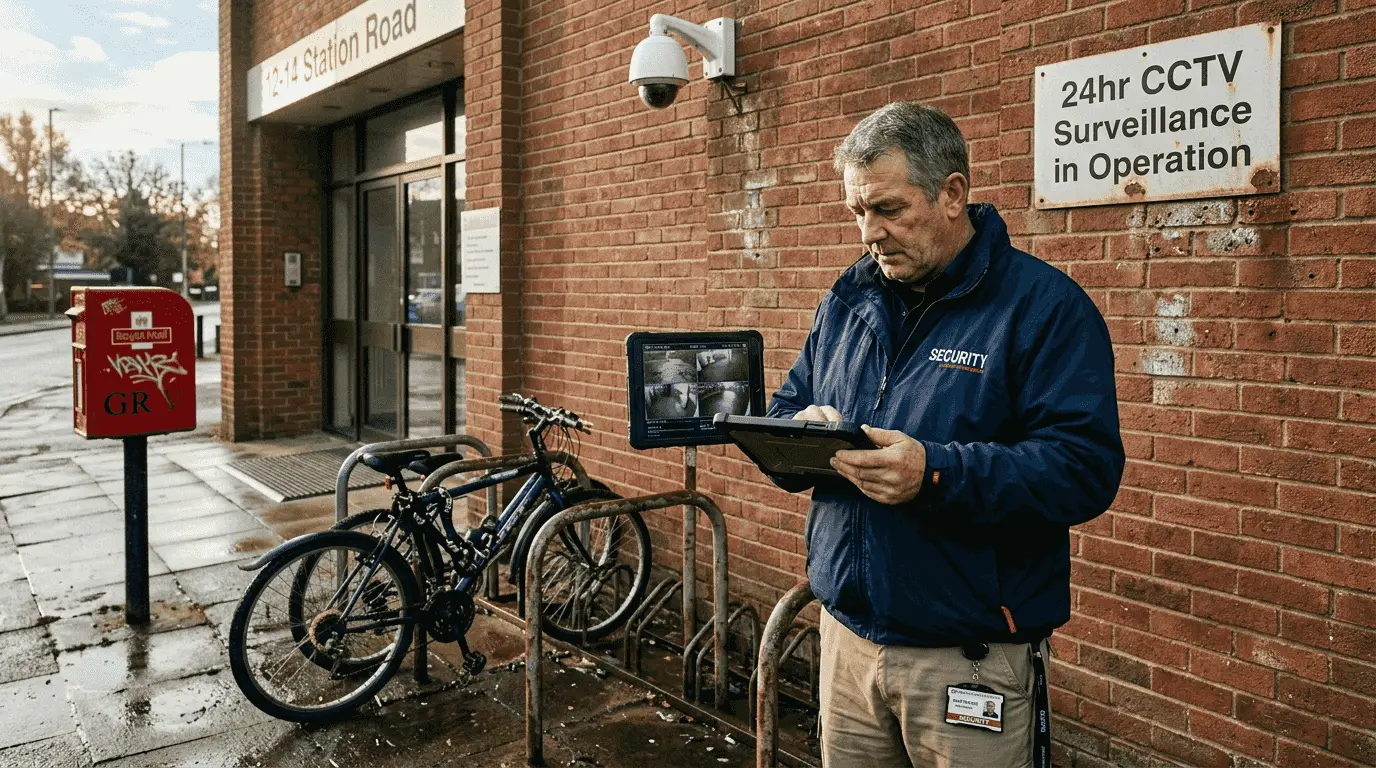
Testing your security system’s performance across varying lighting conditions is crucial to ensuring comprehensive property protection. Your primary objective is to validate that your surveillance setup captures clear, detailed imagery during both daylight and low light scenarios.
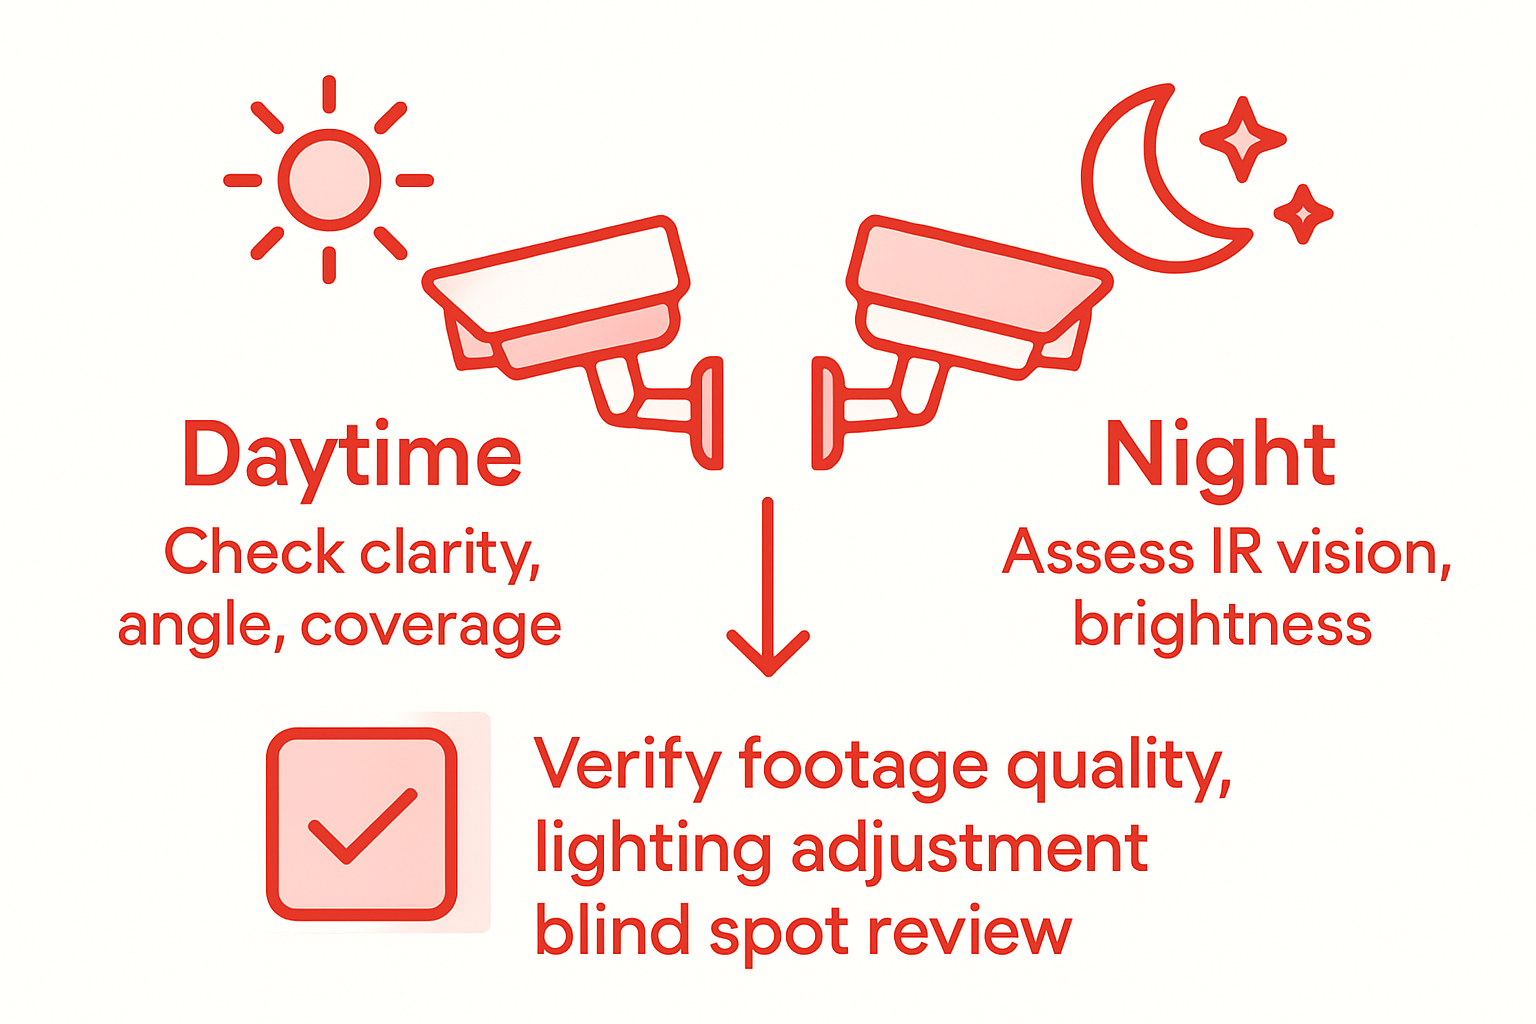
Systematic CCTV performance testing protocols require methodical evaluation of camera functionality under different environmental conditions. Begin by conducting comprehensive daytime tests that assess image clarity, colour accuracy, and field of view coverage. During nighttime assessments, focus on evaluating infrared capabilities, low light sensitivity, and the system’s ability to capture meaningful details in darker environments. Professional systems like Hikvision AX Pro and RISCO LightSYS+ offer advanced features such as digital noise reduction and automatic light compensation that can be specifically evaluated during these tests.
Your testing process should include multiple verification stages. Start with recording quality assessments at different times of day, checking for image resolution, colour reproduction, and motion tracking accuracy. Pay particular attention to challenging areas identified during your initial site survey such as entry points, parking zones, and perimeter boundaries. Verify that cameras automatically switch between colour and black and white modes seamlessly, and that motion detection features function correctly across different lighting conditions.
A strategic tip for thorough performance testing involves creating a detailed checklist that documents each camera’s specific performance characteristics. This approach allows you to systematically record and compare results, helping identify any potential configuration adjustments needed to optimise your surveillance system’s overall effectiveness.
Secure Your Property Day and Night with Expert CCTV Installation
The challenge of installing a reliable day night CCTV system that performs flawlessly around the clock is real for many UK property owners. From assessing site vulnerabilities to choosing cameras with advanced infrared capabilities and configuring complex hardware, there are many technical decisions to make. You want to avoid blind spots, ensure clear images during low light, and have motion detection that truly protects your home or business.
That is where we come in. At 247 CCTV, we specialise in installing CCTV, burglar alarms, door entry and access control systems tailored exactly to your needs. Our professional team understands the importance of a comprehensive site survey and can help position and configure your cameras, such as the Hikvision AX Pro or RISCO LightSYS+, for maximum coverage and optimum night and day performance. We make sure your security solution works seamlessly so you can feel safe all hours of the day.

Don’t leave your property security to chance. Discover how our expert installation services can protect your home or business across the UK today. Visit 247 CCTV now for a personalised consultation and make your property secure with confidence.
Frequently Asked Questions
How do I assess my property’s surveillance requirements before installing a CCTV system?
Begin by conducting a thorough site survey. Walk the entire perimeter, identifying entry points, visibility issues, and potential vulnerabilities, to create a comprehensive assessment for your CCTV setup.
What types of cameras should I choose for day and night monitoring?
Choose cameras with features like infrared capabilities and low light sensitivity, ensuring they can deliver clear footage in varying light conditions. Look for models that automatically adjust between colour and black and white modes, optimising performance day and night.
How can I ensure my cameras provide maximum coverage?
Position cameras at strategic locations around your property, focusing on entry points, high-traffic areas, and potential blind spots. Aim to mount them at a height of 2.5 to 3 metres to avoid tampering while ensuring complete visual coverage.
What steps should I follow to connect and configure my CCTV system?
Start by ensuring all cameras are properly positioned and connected to a power supply. Then, configure network settings and recording options, keeping in mind to secure your network by using strong passwords and two-factor authentication.
How do I test the performance of my CCTV system in different lighting conditions?
Conduct tests during both day and night to assess image clarity, colour accuracy, and infrared capabilities. Create a detailed checklist of each camera’s performance, allowing for adjustments based on the results to enhance your system’s effectiveness.
What should I include in my site assessment for optimal CCTV placement?
Include notes on door and window locations, lighting conditions, and any obstructions that could impact camera visibility. Create a map marking potential sensor locations to assist in discussions with your installer.
Recommended
- How to Wire CCTV System for Secure UK Properties – 247 CCTV Security Ltd
- CCTV Remote Viewing Setup Guide for UK Businesses – 247 CCTV Security Ltd
- CCTV Monitoring Setup Guide: Secure Your Property Easily – 247 CCTV Security Ltd
- CCTV Installation Guide: Secure Your Property Easily – 247 CCTV Security Ltd
- Cos’è una Telecamera da Cantiere: Guida Completa 2024 – Timelapse Cantieri DroinCam | Monitoraggio remoto avanzamento lavori