Security is a top priority for every retail shop owner in Essex and London, especially as British crime statistics reveal over forty thousand shoplifting incidents annually across the United Kingdom. Protecting your premises is more than just guarding merchandise—it is about meeting legal requirements and maintaining customer trust. This practical guide will break down each critical step to help British shops install alarm systems with confidence, from risk assessment to testing system functionality.
Quick Summary
| Key Point | Explanation |
|---|---|
| 1. Assess Vulnerabilities Thoroughly | Conduct a detailed assessment of your shop layout to identify entry points and high-value zones for effective security planning. |
| 2. Plan Sensor Placement Strategically | Map out sensor locations based on your assessment to ensure comprehensive coverage of vulnerable areas. |
| 3. Follow Professional Installation Standards | Ensure the control panel and sensors are mounted according to guidelines for optimal system performance and security. |
| 4. Test System Functionality Regularly | Conduct thorough tests of each alarm component to ensure reliable operation and quick identification of any issues. |
| 5. Document Settings and Adjustments | Keep a detailed record of sensor settings and configurations for easy reference during future maintenance or updates. |
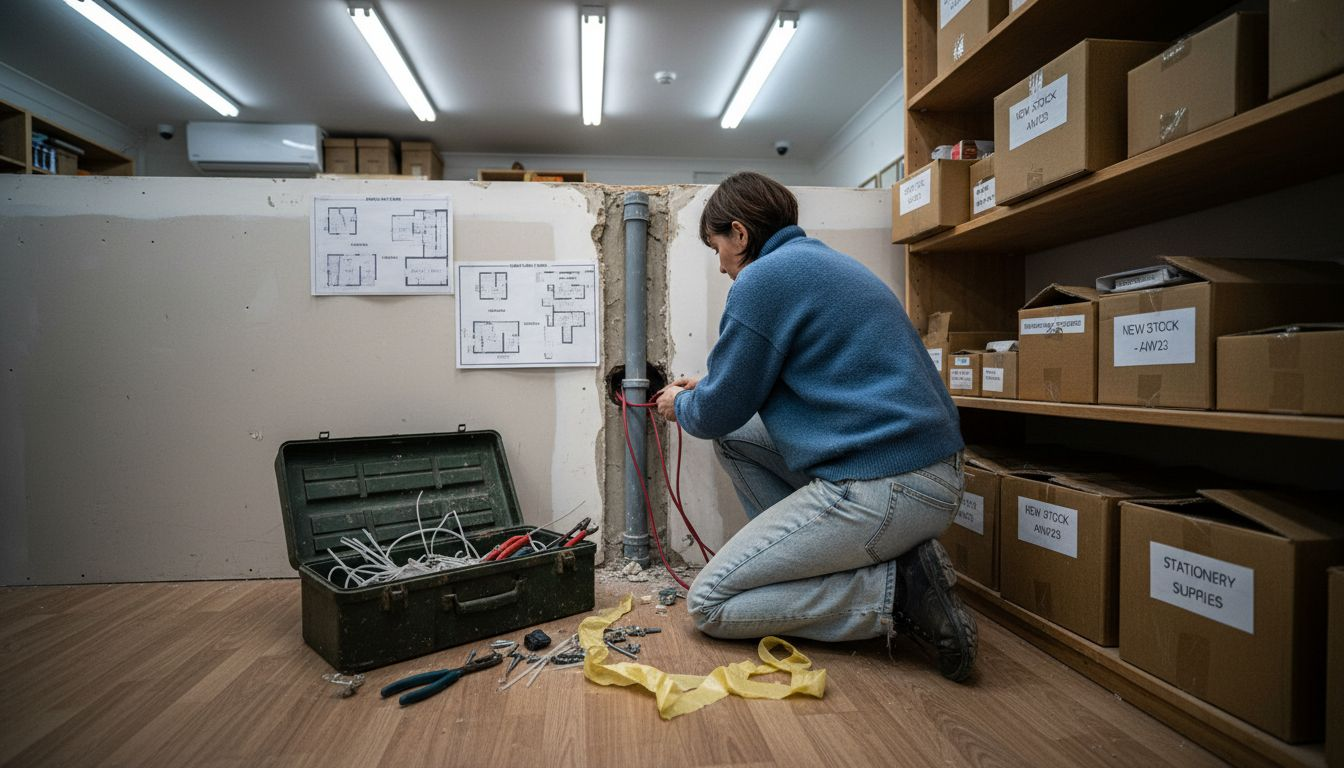
Step 1: Assess Shop Layout and Security Needs
Security starts with understanding your unique retail space. Conducting a thorough assessment of your shop’s layout and potential vulnerabilities is crucial for designing an effective burglar alarm system. By systematically examining your premises, you can identify key areas requiring protection and create a targeted security strategy.
Begin by walking through your shop and mapping out critical zones. Risk assessment techniques recommend documenting potential entry points such as windows, rear doors, and loading areas. Pay special attention to display zones with high value merchandise, cash handling areas, and storage rooms. Consider the customer flow patterns and identify blind spots where intruders might potentially gain undetected access. Measure distances between potential sensor locations and note architectural features like wall materials, ceiling heights, and obstructions that might impact alarm system placement.
Your assessment should include creating a detailed floor plan highlighting vulnerable points and potential sensor locations. For RISCO LightSYS+ and Texecom Premier Elite systems, strategic placement of motion detectors, glass break sensors, and perimeter protection will be critical. Consider factors like staff movement patterns, customer traffic, and potential hiding spots that could compromise security.
The table below summarises key sensor types used in retail alarm systems and their specific business impacts:
| Sensor Type | Main Function | Impact on Shop Security |
|---|---|---|
| Motion Detector | Detects unauthorised movement | Alerts staff to intruders early |
| Glass Break Sensor | Senses window breakage | Protects display and entry areas |
| Magnetic Contact | Monitors door/window openings | Prevents unnoticed access at vulnerable points |
| Vibration Sensor | Detects forced entry attempts | Discourages tampering with entry points |
Top Tip: Create a scaled sketch of your shop layout before installation to help security professionals design the most effective alarm configuration.
Step 2: Plan Alarm System Placement and Wiring
Carefully designing your alarm system layout is critical for comprehensive shop security. You will need to create a strategic plan that ensures complete coverage while maintaining system reliability and compliance with professional standards.
Start by mapping out precise sensor and control panel locations based on your previous shop layout assessment. Alarm system design standards recommend positioning motion detectors, glass break sensors, and control panels to maximise protection. Focus on key vulnerable areas like entry points, high value merchandise zones, cash registers, and storage rooms. Consider the technical specifications of your chosen system such as the RISCO LightSYS+ or Texecom Premier Elite to determine optimal sensor range and connectivity requirements.
When planning wiring routes, prioritise concealment and protection. Run cables through wall cavities, conduits, or cable management systems to prevent tampering and maintain a clean installation. Ensure electrical connections follow British Standard BS 7671 guidelines, which mandate proper cable routing, earthing, and protection against potential electrical interference. Consider wireless options for areas where extensive wiring might be challenging, but remember that hardwired systems typically offer more reliable long term performance.
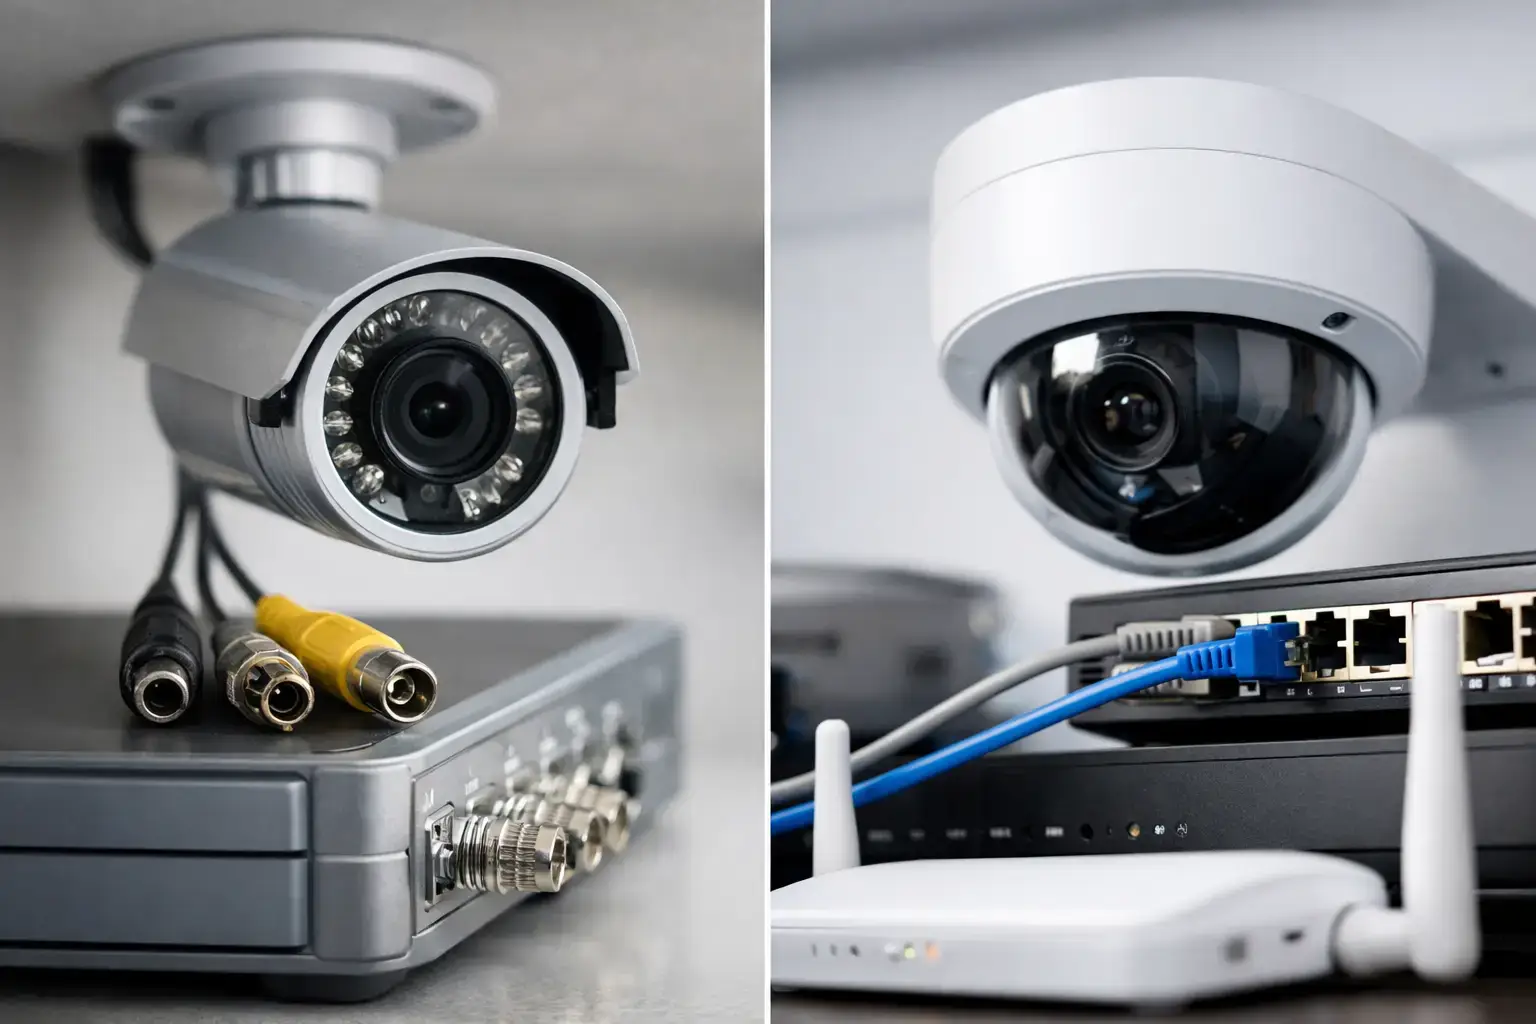
Here is a comparison of hardwired versus wireless alarm systems for retail environments:
| System Type | Reliability | Installation Complexity | Maintenance Needs |
|---|---|---|---|
| Hardwired | High signal stability | More complex, invasive | Less frequent, robust setup |
| Wireless | Susceptible to signal loss | Easier, minimal disruption | Requires periodic battery checks |
Top Tip: Consult a professional security installer to validate your placement strategy and ensure compliance with insurance and regulatory requirements.
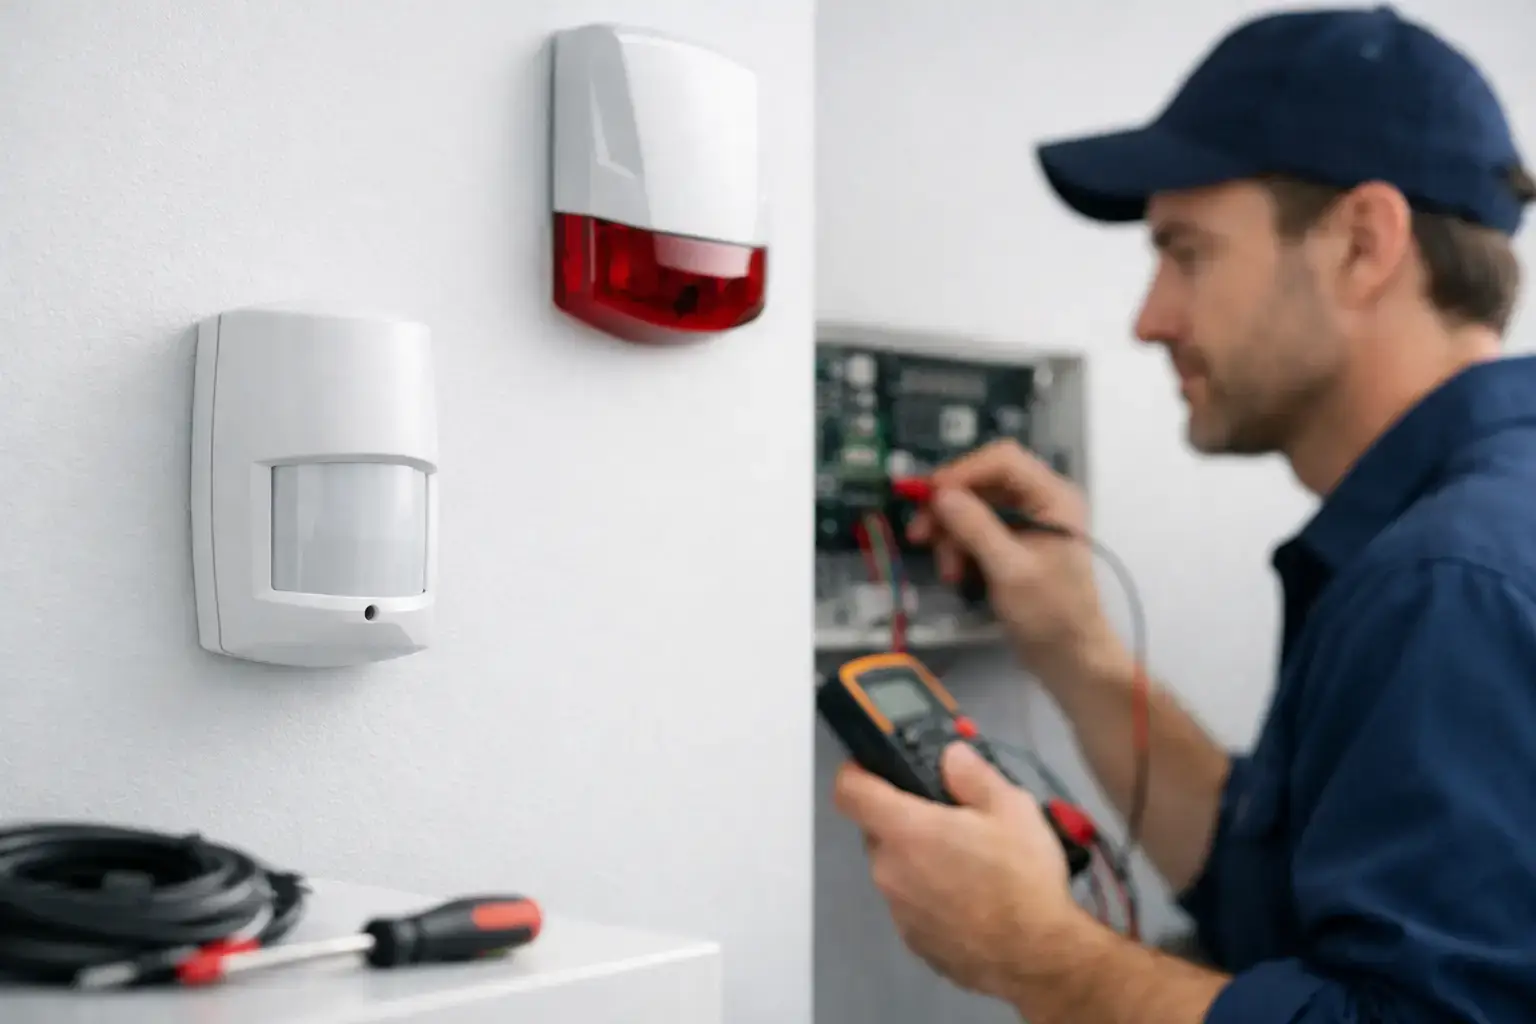
Step 3: Install Alarm Control Panel and Sensors
Installing your alarm system requires precision and careful attention to detail to ensure comprehensive protection for your retail space. This crucial stage transforms your security planning into a functional defence mechanism against potential intrusions.
Alarm installation standards mandate professional mounting of control panels and sensors in strategic locations. For RISCO LightSYS+ and Texecom Premier Elite systems, begin by mounting the control panel in a secure, centralised area typically near your main entrance or staff room. Ensure the location allows easy access for programming and maintenance while remaining protected from potential tampering. Mount sensors at recommended heights typically 2.2 to 2.5 metres above floor level, avoiding direct sunlight, heating vents, and areas with excessive dust or moisture that might trigger false alarms.
Connect sensors systematically to the control panel, ensuring each device is correctly wired and configured. Test each sensor individually to verify proper communication with the central system. Pay close attention to motion detectors covering entry points, glass break sensors near display windows, and magnetic contacts on doors and potential access points. Ensure backup battery systems are correctly installed and connected to maintain system functionality during power interruptions.
Top Tip: Use cable ties and conduit to secure wiring neatly and prevent potential damage or interference with sensor performance.
Step 4: Connect Components and Perform Wiring
Connecting your alarm system components requires meticulous attention to electrical safety and precise signal routing. This critical stage transforms individual sensors and modules into a cohesive security network protecting your retail space.
Electrical wiring regulations dictate strict guidelines for alarm system connections. Begin by gathering all necessary components for your RISCO LightSYS+ or Texecom Premier Elite system: control panel, power supply, backup battery, sensors, and communication modules. Use high quality copper core cables with appropriate gauge thickness to ensure reliable signal transmission and minimal voltage drop. Route cables through protective conduits along walls and ceilings, keeping them away from potential sources of electrical interference such as power lines or heavy machinery.
Ensure each connection point is securely fastened and properly insulated. Connect sensors to their designated zones on the control panel, verifying polarity and ensuring tight connections. Test continuity for each wire using a multimeter to confirm there are no breaks or short circuits. Ground the system correctly to prevent electrical surges and protect sensitive electronic components. Pay special attention to connecting backup power systems to maintain alarm functionality during potential power outages.
Top Tip: Label each wire and connection point during installation to simplify future maintenance and troubleshooting.
Step 5: Configure Alarm Settings and Zones
Configuring your alarm system transforms technical components into an intelligent security network tailored specifically to your retail environment. This critical stage determines how precisely your system will detect and respond to potential security threats.
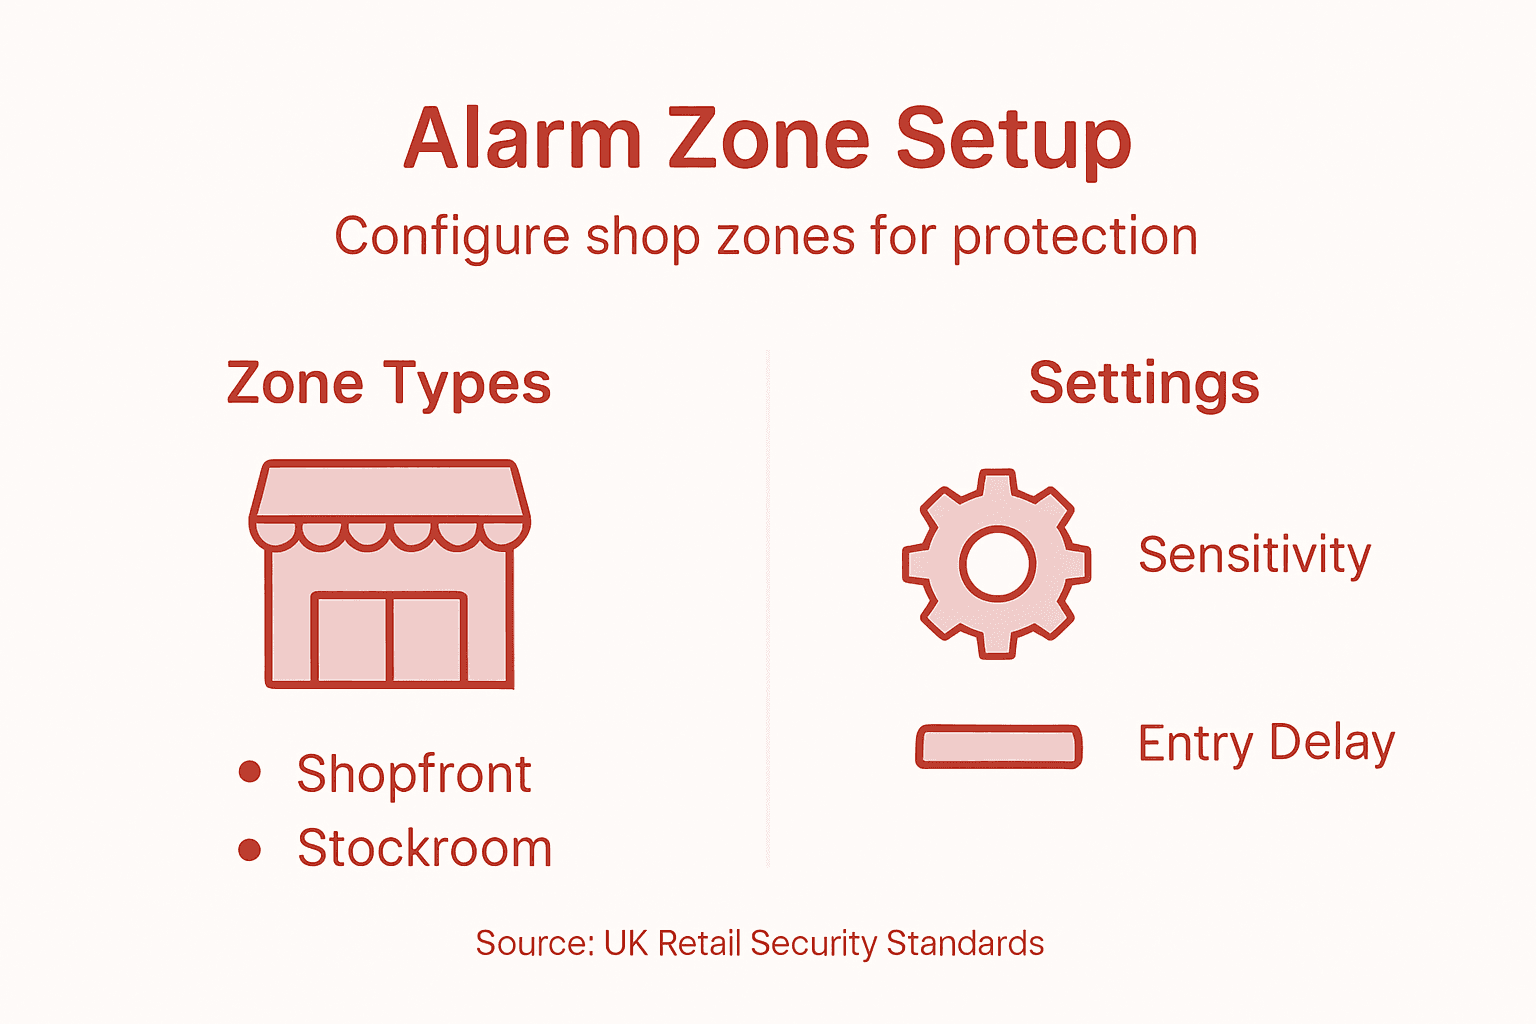
Alarm system configuration involves strategically dividing your shop into distinct protection zones for the RISCO LightSYS+ and Texecom Premier Elite systems. Begin by mapping out distinct areas such as front entrance, sales floor, storage rooms, and cash handling zones. For each zone, programme specific sensitivity settings considering foot traffic patterns and potential vulnerability. Set appropriate entry and exit delay times to prevent accidental triggers while maintaining robust security. Configure different response protocols for each zone allowing nuanced alarm management that distinguishes between routine movement and genuine security breaches.
Utilise the control panel interface to programme individual sensor parameters. Set motion detector sensitivity to minimise false alarms while ensuring comprehensive coverage. Define precise activation thresholds for glass break sensors near display areas and configure magnetic contacts on doors and windows. Integrate any additional features like remote notification systems or connection to external monitoring services. Test each zone individually to verify correct configuration and response times.
Top Tip: Create a detailed zone map with specific settings documented to simplify future maintenance and system updates.
Step 6: Test System Functionality and Response
Testing your new alarm system is crucial to ensure every component operates precisely as designed, providing comprehensive security for your retail space. This final verification step transforms your technical installation into a reliable protective network.
Alarm system testing procedures require methodical verification of each zone and sensor for the RISCO LightSYS+ and Texecom Premier Elite systems. Begin by testing individual motion detectors by walking through each designated area and confirming the control panel registers movement correctly. Verify entry and exit delay times by deliberately triggering sensors and observing system response. Check that magnetic contacts on doors and windows activate when opened or tampered with. Confirm that glass break sensors respond to simulated impact sounds within their designated range.
Programme a complete system test that checks communication pathways including remote notifications, external siren activation, and potential connections to professional monitoring services. Verify backup battery functionality by temporarily disconnecting main power and ensuring uninterrupted system operation. Document each test result meticulously, noting any inconsistencies or areas requiring recalibration. Pay special attention to sensor sensitivity settings and response times to minimise potential false alarms while maintaining robust security coverage.
Top Tip: Schedule quarterly comprehensive system tests to maintain ongoing reliability and quickly identify any potential performance degradation.
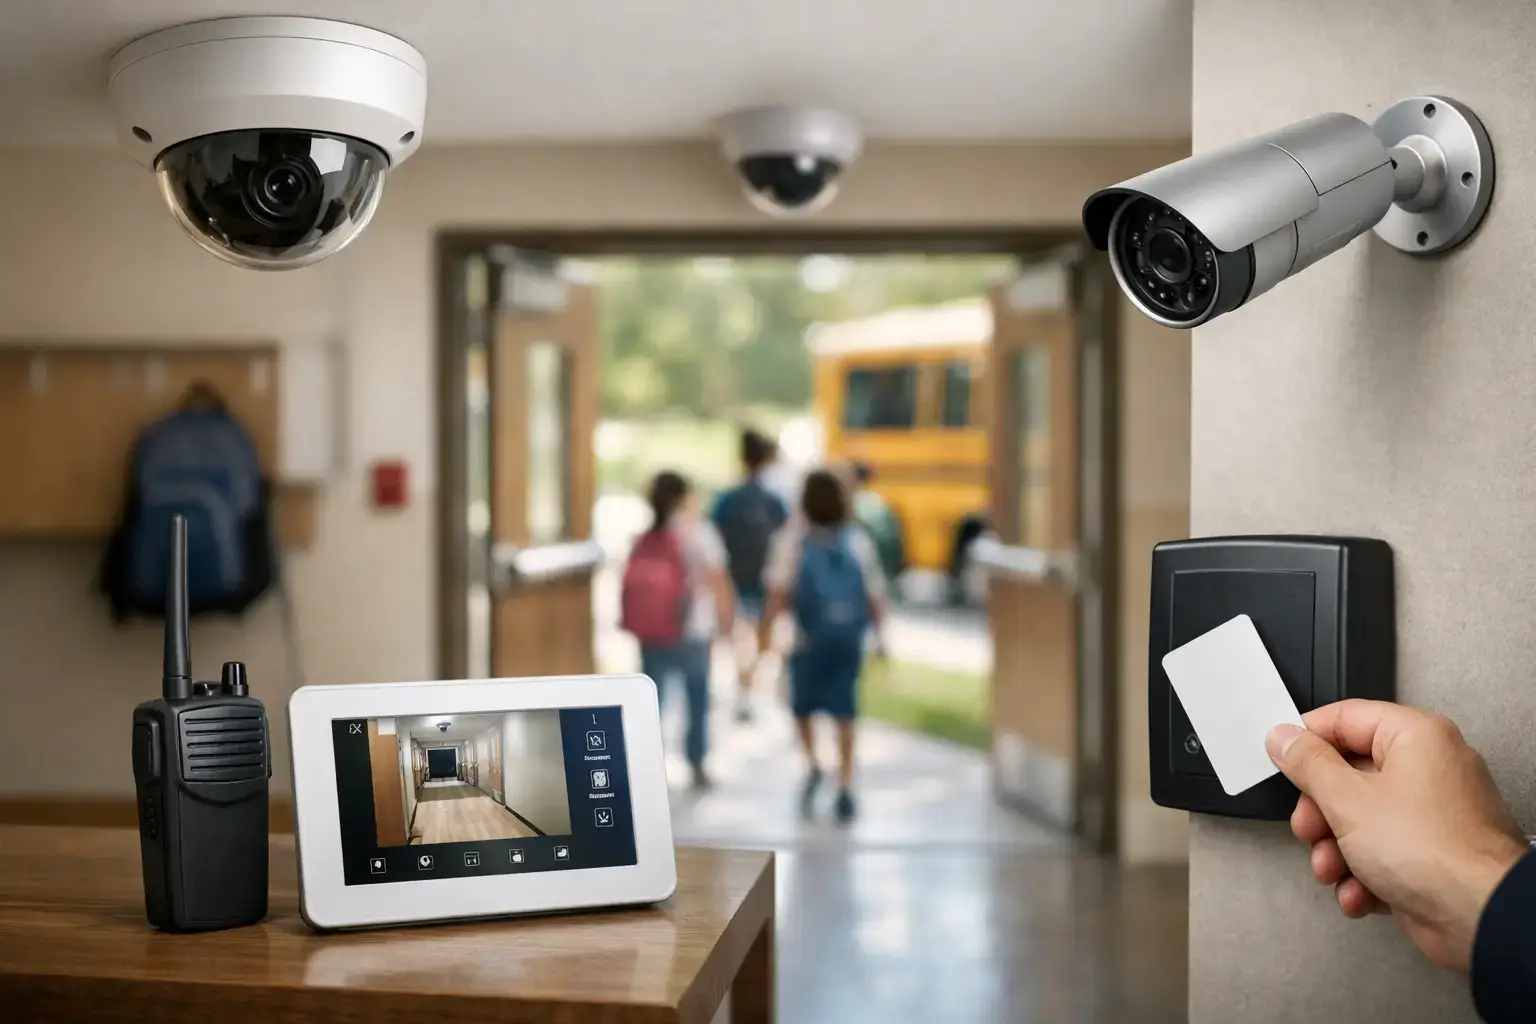
Protect Your Retail Space with Professional Shop Alarm Installation
Understanding the critical steps in shop alarm installation is essential for effective retail security. From assessing your shop layout and vulnerabilities to carefully planning alarm placement and wiring, each phase plays a vital role in safeguarding your business against theft and unauthorised access. Common challenges such as avoiding false alarms, complying with British Standards like BS 7671, and configuring zones to suit different areas of your shop require expert attention and precision.
At 247cctv, we specialise in installing reliable burglar alarms, CCTV, and access control systems tailored to your specific needs. Trust us to expertly handle everything from initial risk assessment to the final system testing, using well-known systems such as RISCO LightSYS+ and Texecom Premier Elite. Our professional installation ensures compliance with all relevant standards while delivering robust protection for your business.
Take control of your shop’s security today

Secure your retail premises with confidence by choosing expert installation solutions from 247cctv. Discover more about our comprehensive burglar alarm installation services and protect your business effectively now.
Frequently Asked Questions
What are the initial steps to assess my shop’s layout for alarm installation?
Start by conducting a thorough walkthrough of your retail space to identify potential vulnerabilities. Map out critical zones and document all entry points, high value merchandise areas, and blind spots to develop an effective security strategy.
How do I determine the best placement for alarm sensors in my shop?
You should carefully select sensor locations based on your shop layout assessment, focusing on high-risk areas such as entry points and cash handling zones. Plan the placement of motion detectors, glass break sensors, and magnetic contacts to ensure comprehensive coverage and compliance with installation standards.
What should I consider when connecting alarm system components?
Ensure that all connections follow electrical safety guidelines and protect against potential interference. Use high quality wiring and secure every connection, verifying polarity and insulation to maintain system reliability and safety.
How can I effectively configure different security zones in my alarm system?
Begin by mapping out distinct protection zones within your shop and programme specific sensitivity settings for each area. Set entry and exit delay times appropriately to reduce false alarms while maintaining strong security coverage across the retail space.
What steps should I take to test the functionality of my newly installed alarm system?
Conduct methodical tests on each zone and sensor to ensure they operate correctly. Verify responses to simulated intrusions and check the system’s communication pathways, documenting all results and recalibrating any settings as needed to optimise performance.