Over 60 percent of property owners upgrade their security after a major incident. Protecting your home or business with the right CCTV system is more than a precaution, it is a vital step in deterring crime and supporting investigations. A smart CCTV setup offers peace of mind, but only if each stage is done right. This guide takes you through practical steps to help you select, install, and optimize a surveillance system that truly works for your needs.
Table of Contents
- Step 1: Assess Security Needs And Select Optimal CCTV System
- Step 2: Plan Camera Placement And Prepare Installation Sites
- Step 3: Install Cameras And Run Required Cabling
- Step 4: Connect And Configure The CCTV Recording Equipment
- Step 5: Test System Functionality And Optimise Coverage
Quick Summary
| Key Point | Explanation |
|---|---|
| 1. Assess Security Needs First | Conduct a thorough security survey to identify vulnerable areas and prioritize monitoring locations to enhance security effectiveness. |
| 2. Strategize Camera Placement | Focus on covering entry points and perimeters with overlapping fields of view to minimize blind spots and ensure comprehensive surveillance coverage. |
| 3. Ensure Proper Installation and Cabling | Run cables discreetly to prevent tampering and environmental damage, using weatherproof cables for outdoor settings to maintain system reliability. |
| 4. Configure Recording Equipment Thoroughly | Connect cameras to suitable recording devices and set parameters for optimal performance, ensuring adequate storage capacity for recorded footage. |
| 5. Test System Functionality Completely | Conduct detailed testing of each camera’s performance under various conditions to confirm reliable operation and ensure optimal security coverage. |
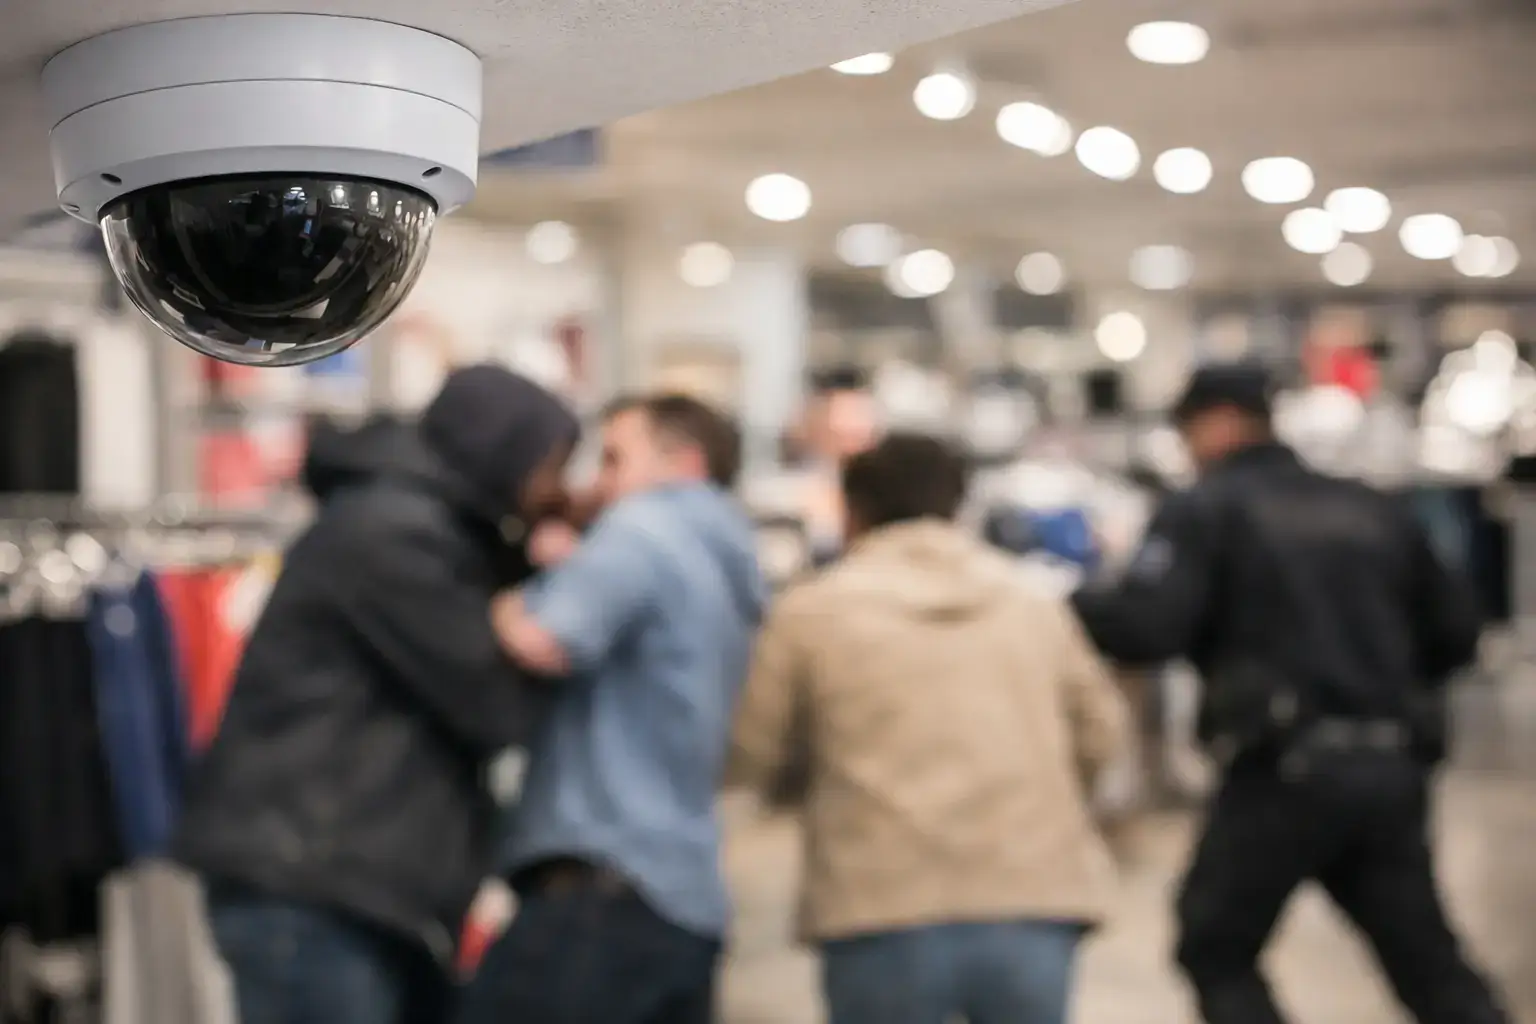
Step 1: Assess Security Needs and Select Optimal CCTV System
Selecting the right CCTV system starts with a thorough assessment of your specific security requirements. Your goal is to create a robust surveillance strategy that protects your property effectively and efficiently.
According to the National Protective Security Authority, effective CCTV deployment requires careful consideration of several key factors. Begin by conducting a comprehensive security survey of your property. Identify critical areas that need monitoring like entry points, high traffic zones, valuable asset locations, and potential vulnerability spots. Consider factors such as:
- Perimeter coverage and boundary protection
- Indoor and outdoor surveillance needs
- Lighting conditions in different areas
- Specific security risks unique to your property
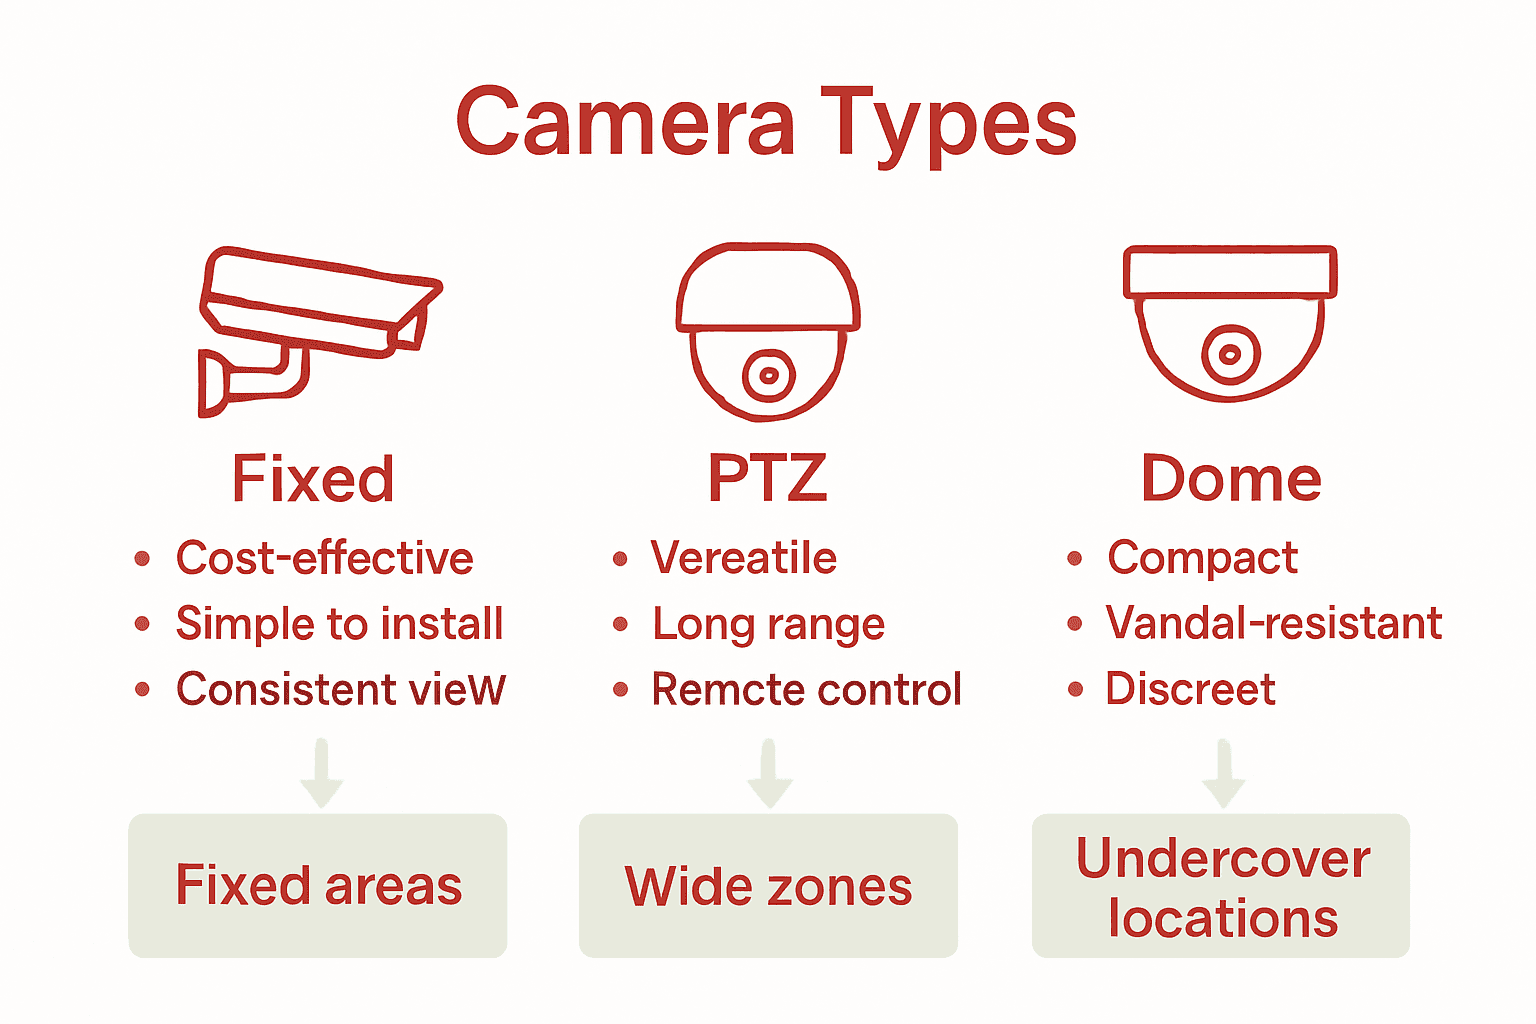
The UK government guidance recommends adhering to British Standards (BS EN 62676 series) when selecting your system. This means looking for cameras that offer high resolution, good low light performance, and appropriate field of view for each specific location. Fixed cameras work well for monitoring static areas, while Pan Tilt Zoom (PTZ) cameras provide flexibility for tracking movement across larger spaces.
Pro Tip: Don’t just focus on camera quantity. Strategic placement matters more than installing numerous low quality cameras.
Your next step will involve translating this assessment into a precise camera selection and placement strategy that maximizes your security coverage while maintaining system efficiency. Learn more about key CCTV system features to help refine your selection process.
Step 2: Plan Camera Placement and Prepare Installation Sites
Now that you have assessed your security needs, it is time to strategically plan your camera placement to maximise property protection. This crucial step determines the effectiveness of your entire surveillance system.
According to the National Protective Security Authority, strategic camera positioning is essential for comprehensive site security. You will want to focus on several key areas during your planning phase:
- Cover all entry and exit points thoroughly
- Ensure complete perimeter surveillance
The Collections Trust recommends paying special attention to camera height and angle. Aim to mount cameras between 2.5 and 3 metres high to capture clear facial images while avoiding easy tampering. Position cameras to eliminate potential blind spots by creating overlapping fields of view.
Pro Tip: Walk through your property and imagine yourself as a potential intruder. This perspective helps identify vulnerable areas that need camera coverage.
When preparing installation sites, consider environmental factors like lighting conditions, potential obstructions, and weather exposure. Review our guide on camera installation points to ensure you select optimal locations that provide clear visibility and maximum security coverage.
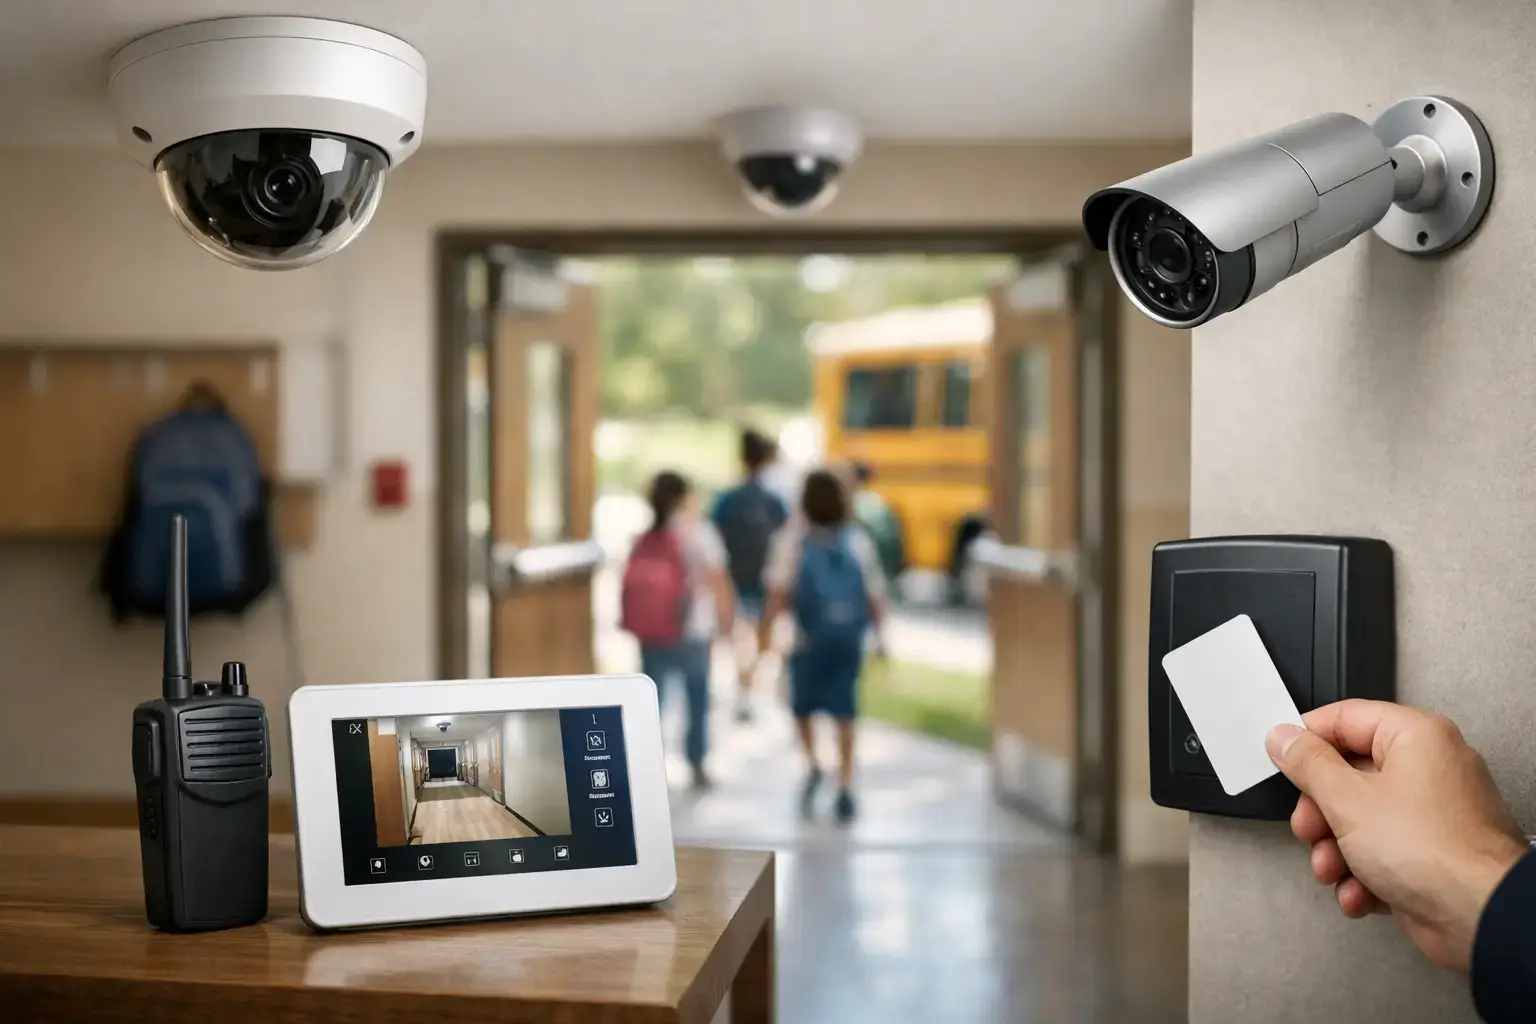
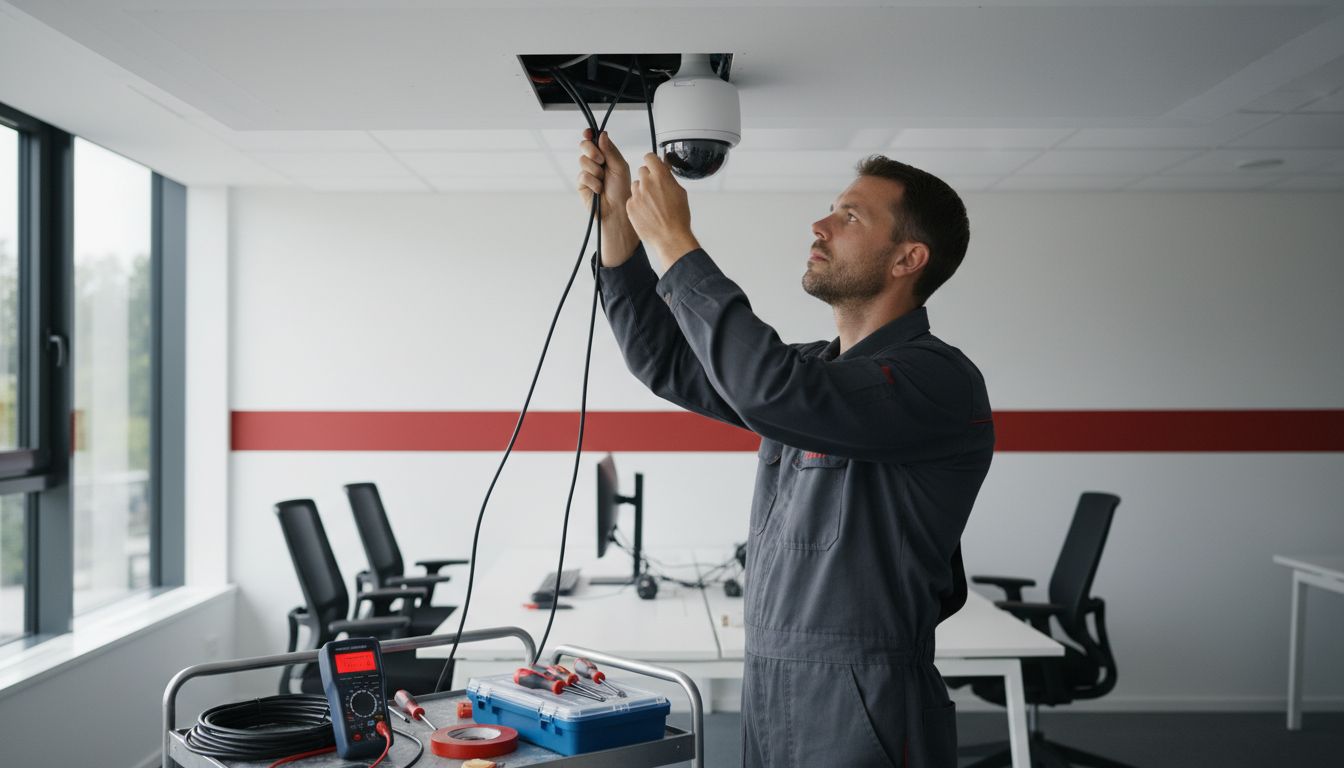
Step 3: Install Cameras and Run Required Cabling
With your camera placement strategy mapped out, you are now ready to begin the physical installation process. This stage requires careful attention to detail and precision to ensure your surveillance system functions effectively.
According to the UK Government Guidance, proper installation demands strict adherence to British Standards (BS EN 62676-4) for commissioning and testing your CCTV system. Start by gathering all necessary tools and equipment including mounting brackets, drill, cable clips, power drill, screwdriver, ladder, and appropriate cabling.
When running cables, prioritize protection and discretion. Choose routes that minimise cable exposure and potential damage.
 Typically, you will want to run cables through walls, ceilings, or conduits to prevent tampering or weather related degradation. The Surveillance Camera Commissioner emphasises the importance of maintaining cable integrity to ensure system reliability.
Pro Tip: Always use weatherproof cables for outdoor cameras and ensure sufficient slack in your cabling to accommodate future adjustments.
Each camera installation requires checking mounting stability, cable connection quality, and initial angle positioning. Review our residential camera installation guide to understand nuanced techniques that can help you achieve professional results. Your final step will involve connecting cameras to your recording system and configuring initial settings.
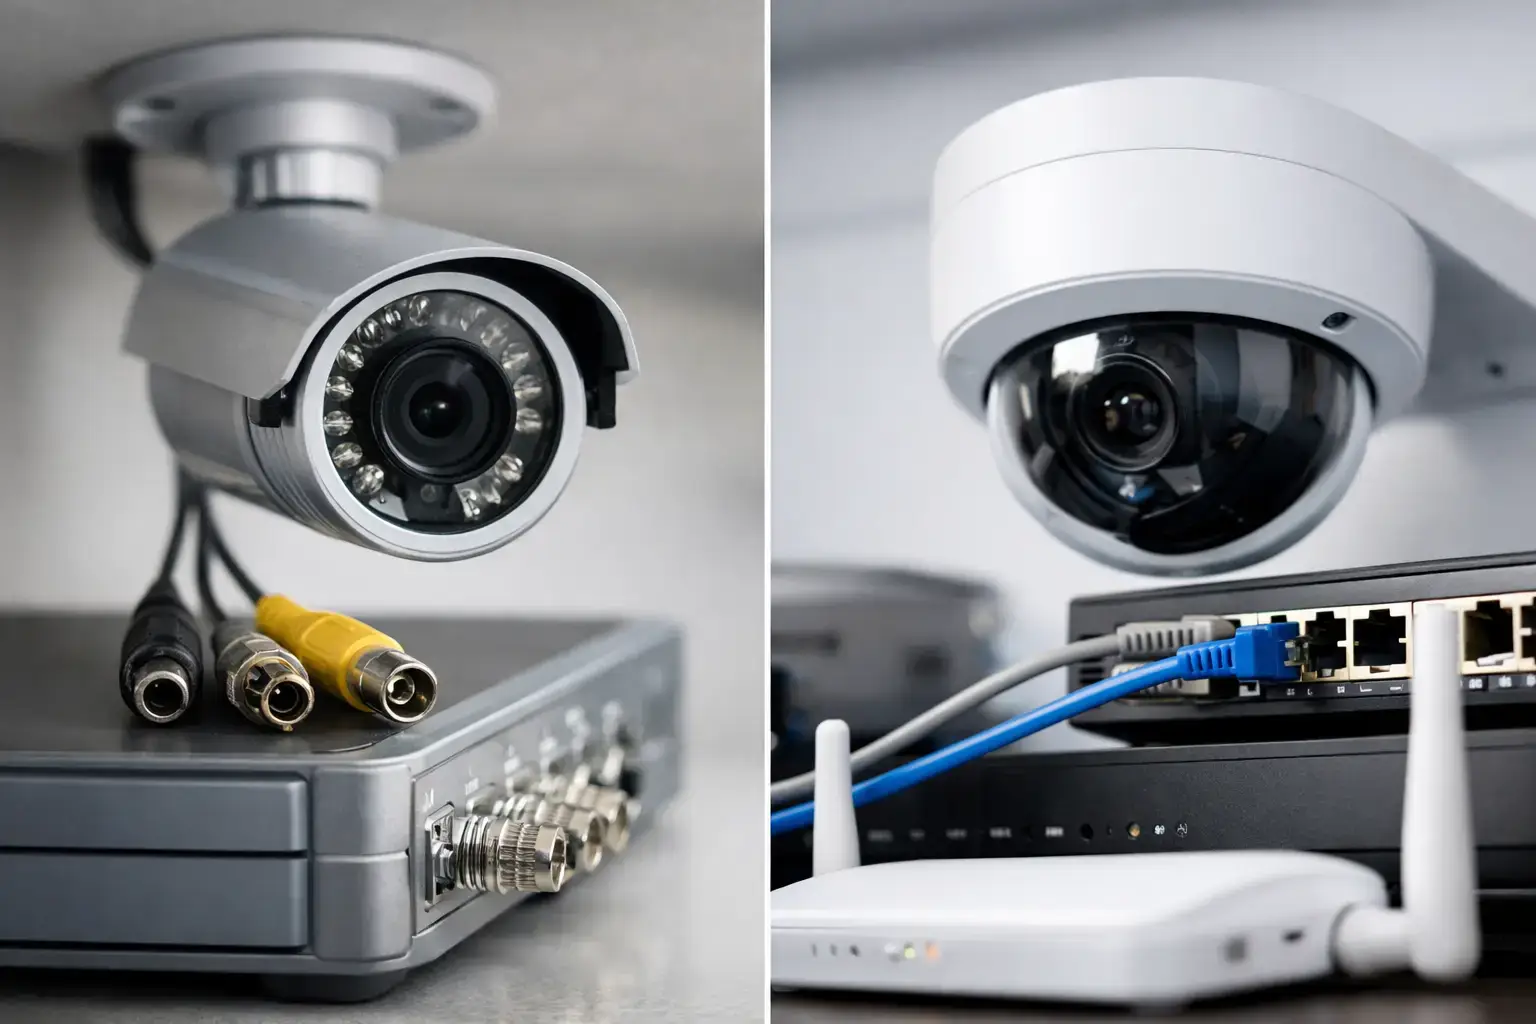
Step 4: Connect and Configure the CCTV Recording Equipment
With your cameras strategically installed, you are now ready to connect and configure your recording equipment. This critical step transforms your physical camera setup into a functional surveillance system that captures and stores important security footage.
According to the National Protective Security Authority, configuring recording equipment involves creating a robust monitoring environment that enables both live surveillance and evidential video storage. Begin by connecting your cameras to the network video recorder (NVR) or digital video recorder (DVR) using appropriate network or coaxial cables depending on your system type.
The UK Government Guidance recommends adhering to British Standards (BS EN 62676-2-1) when transmitting video surveillance data. This means carefully configuring your system settings to ensure data integrity. Set up critical parameters such as recording resolution, frame rate, storage allocation, and motion detection sensitivity to optimise your system’s performance.
Pro Tip: Always use high quality ethernet cables for network cameras and ensure your recording device has sufficient storage capacity to retain footage for the required duration.
Once connected, check your Hikvision system settings to confirm correct date and time configurations. Your final configuration step involves testing each camera’s view and verifying that footage is recording correctly before finalising your security system setup.
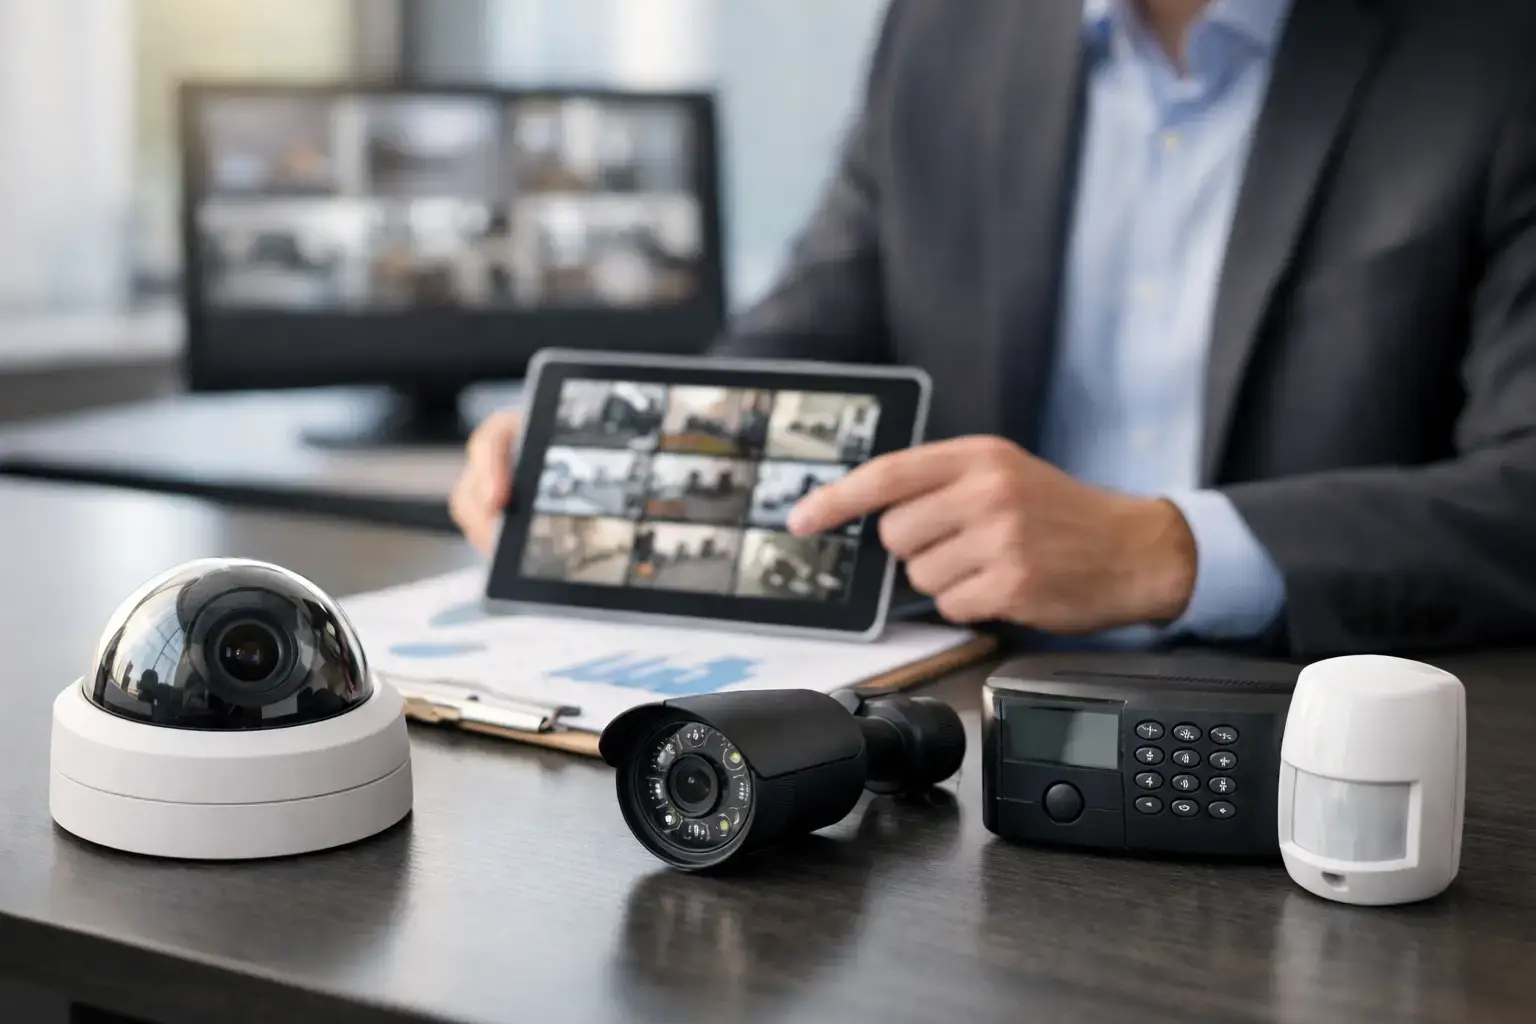
Step 5: Test System Functionality and Optimise Coverage
With your CCTV system physically installed and configured, you now enter the critical phase of comprehensive testing and performance validation. This stage ensures your surveillance system operates precisely as intended and provides the security protection your property requires.
According to the National Protective Security Authority, system testing demands meticulous attention from trained operators. Begin by conducting systematic checks of each camera’s functionality examining video quality, field of view, motion detection accuracy, and night vision performance. Simulate different scenarios to validate your system performs consistently under varying conditions.
The UK Government Guidance recommends adhering to British Standards (BS EN 62676-4) during system assessment. This involves methodically reviewing recording quality, storage capabilities, and network connectivity. Pay special attention to camera positioning to eliminate potential blind spots and ensure comprehensive property coverage.
Pro Tip: Test your system during different times of day and under various lighting conditions to guarantee reliable performance.
Your final evaluation should include remote viewing tests to confirm you can access footage from multiple devices and verify that all system alerts and notifications function correctly. Review our comprehensive monitoring setup guide to refine your understanding of effective surveillance system management.
Secure Your Property with Professional CCTV Installation Support
Understanding how crucial strategic camera placement and proper configuration are for effective surveillance can feel overwhelming. The challenge of assessing your unique security needs while ensuring compliance with British Standards is a lot to manage alone. This guide highlights key pain points such as identifying vulnerable areas, choosing the right camera types, and optimising system settings to guarantee reliable property protection.
Let us help you transform your CCTV installation plans into a reality with expert knowledge and hands-on experience. At 247 CCTV, we specialise in installing CCTV, burglar alarms, door entry and access systems tailored to your business or home. We take care of everything from thorough security assessments to precise camera placement and professional installation, ensuring no blind spots or weak points remain.
Enhance your property’s safety today by visiting our home page and exploring our full range of security solutions. Discover how our team can provide peace of mind and a robust deterrent against potential threats with quality equipment and expert support.
Don’t wait until a security breach happens. Take action now by contacting us for a consultation or viewing our guides such as key CCTV system features and residential camera installation success guide to prepare for a safer tomorrow.
Frequently Asked Questions
How can I assess my security needs before installing a CCTV system?
Start by conducting a thorough security survey of your property. Identify critical areas such as entry points, high traffic zones, and vulnerable spots to ensure comprehensive coverage.
What factors should I consider when planning camera placement?
Focus on overlapping fields of view, camera height, and angle to eliminate blind spots. Aim to mount cameras between 2.5 and 3 meters high for clear facial recognition and optimal security.
What steps are involved in the actual camera installation process?
Gather necessary tools like a drill, mounting brackets, and appropriate cabling. Run cables through walls or ceilings to minimize exposure and ensure stability, then securely mount each camera at the predetermined locations.
How do I connect and configure my CCTV recording equipment?
Connect your cameras to the recording device using the appropriate cables, and set critical parameters like recording resolution and storage allocation. Make sure the device can retain footage long enough to meet your monitoring needs.
What should I do to test my CCTV system functionality?
Conduct systematic checks on each camera’s video quality, motion detection, and field of view. Test the system during different lighting conditions to ensure reliable performance and access from multiple devices.
How can I optimize my CCTV system after installation?
Review camera positioning to eliminate blind spots, and adjust settings based on testing results to improve coverage. Regularly check that all alerts and notifications function correctly to enhance security effectiveness.
Recommended
- CCTV Monitoring Setup Guide: Secure Your Property Easily – 247 CCTV Security Ltd
- Residential Camera Installation: Step-by-Step Success Guide – 247 CCTV Security Ltd
- Business CCTV Installation Guide: Secure Your Premises Fast – 247 CCTV Security Ltd
- Essential Guide to CCTV Installation in the UK – 247 CCTV Security Ltd
- Can Landscape Lighting Enhance Your Home Security? | Lawn Sense